

If there’s one thing I wish every senior and parent knew about senior photos, it’s this: starting early is always a good idea.
And I mean early. I’ve had parents join my waitlist for a future senior when that student was still in eighth grade! But I get it, most of my senior families have lots of commitments. With sports, college apps, life in general, and oftentimes other siblings to care for, life can be hectic! So if you’re more in the busy student and full-calendar-full-hearts family category, don’t worry — your schedule fits into this timeline, too.
I also know that the entire process can feel a little mysterious if you’ve never done this before. When should you inquire? When do you actually book? When do we start talking about outfits? When do you get your photos?
The good news is that there’s a process for all of it, whether the student being photographed is in middle school, knee-deep in senior year, or somewhere in between.
My goal is to take things off your plate, not add things to it. So let’s walk through the entire senior photo session timeline, from the moment you join my waitlist to the day your finished images and artwork are in your hands.
Step 1: Join the Waitlist | Anytime Before Senior Year
This is the earliest (and easiest!) step.
You can join the waitlist as an eighth grader, freshman, sophomore, junior, or as the parent of a student at any of those ages. Joining only takes a minute, and all you need to do is submit your contact information and graduating year.
One important distinction: our waitlist isn’t a list you join hoping a session opens up in the next few months. Think of it as a place to drop your contact information so that when it’s your turn, I can keep you in the loop about news, announcements, and when bookings open for your graduating class.
It’s almost like passing the ball to me. Once you’re on the list, the ball is in my court, and I can make sure to contact you when the time comes so you don’t have to worry about remembering!
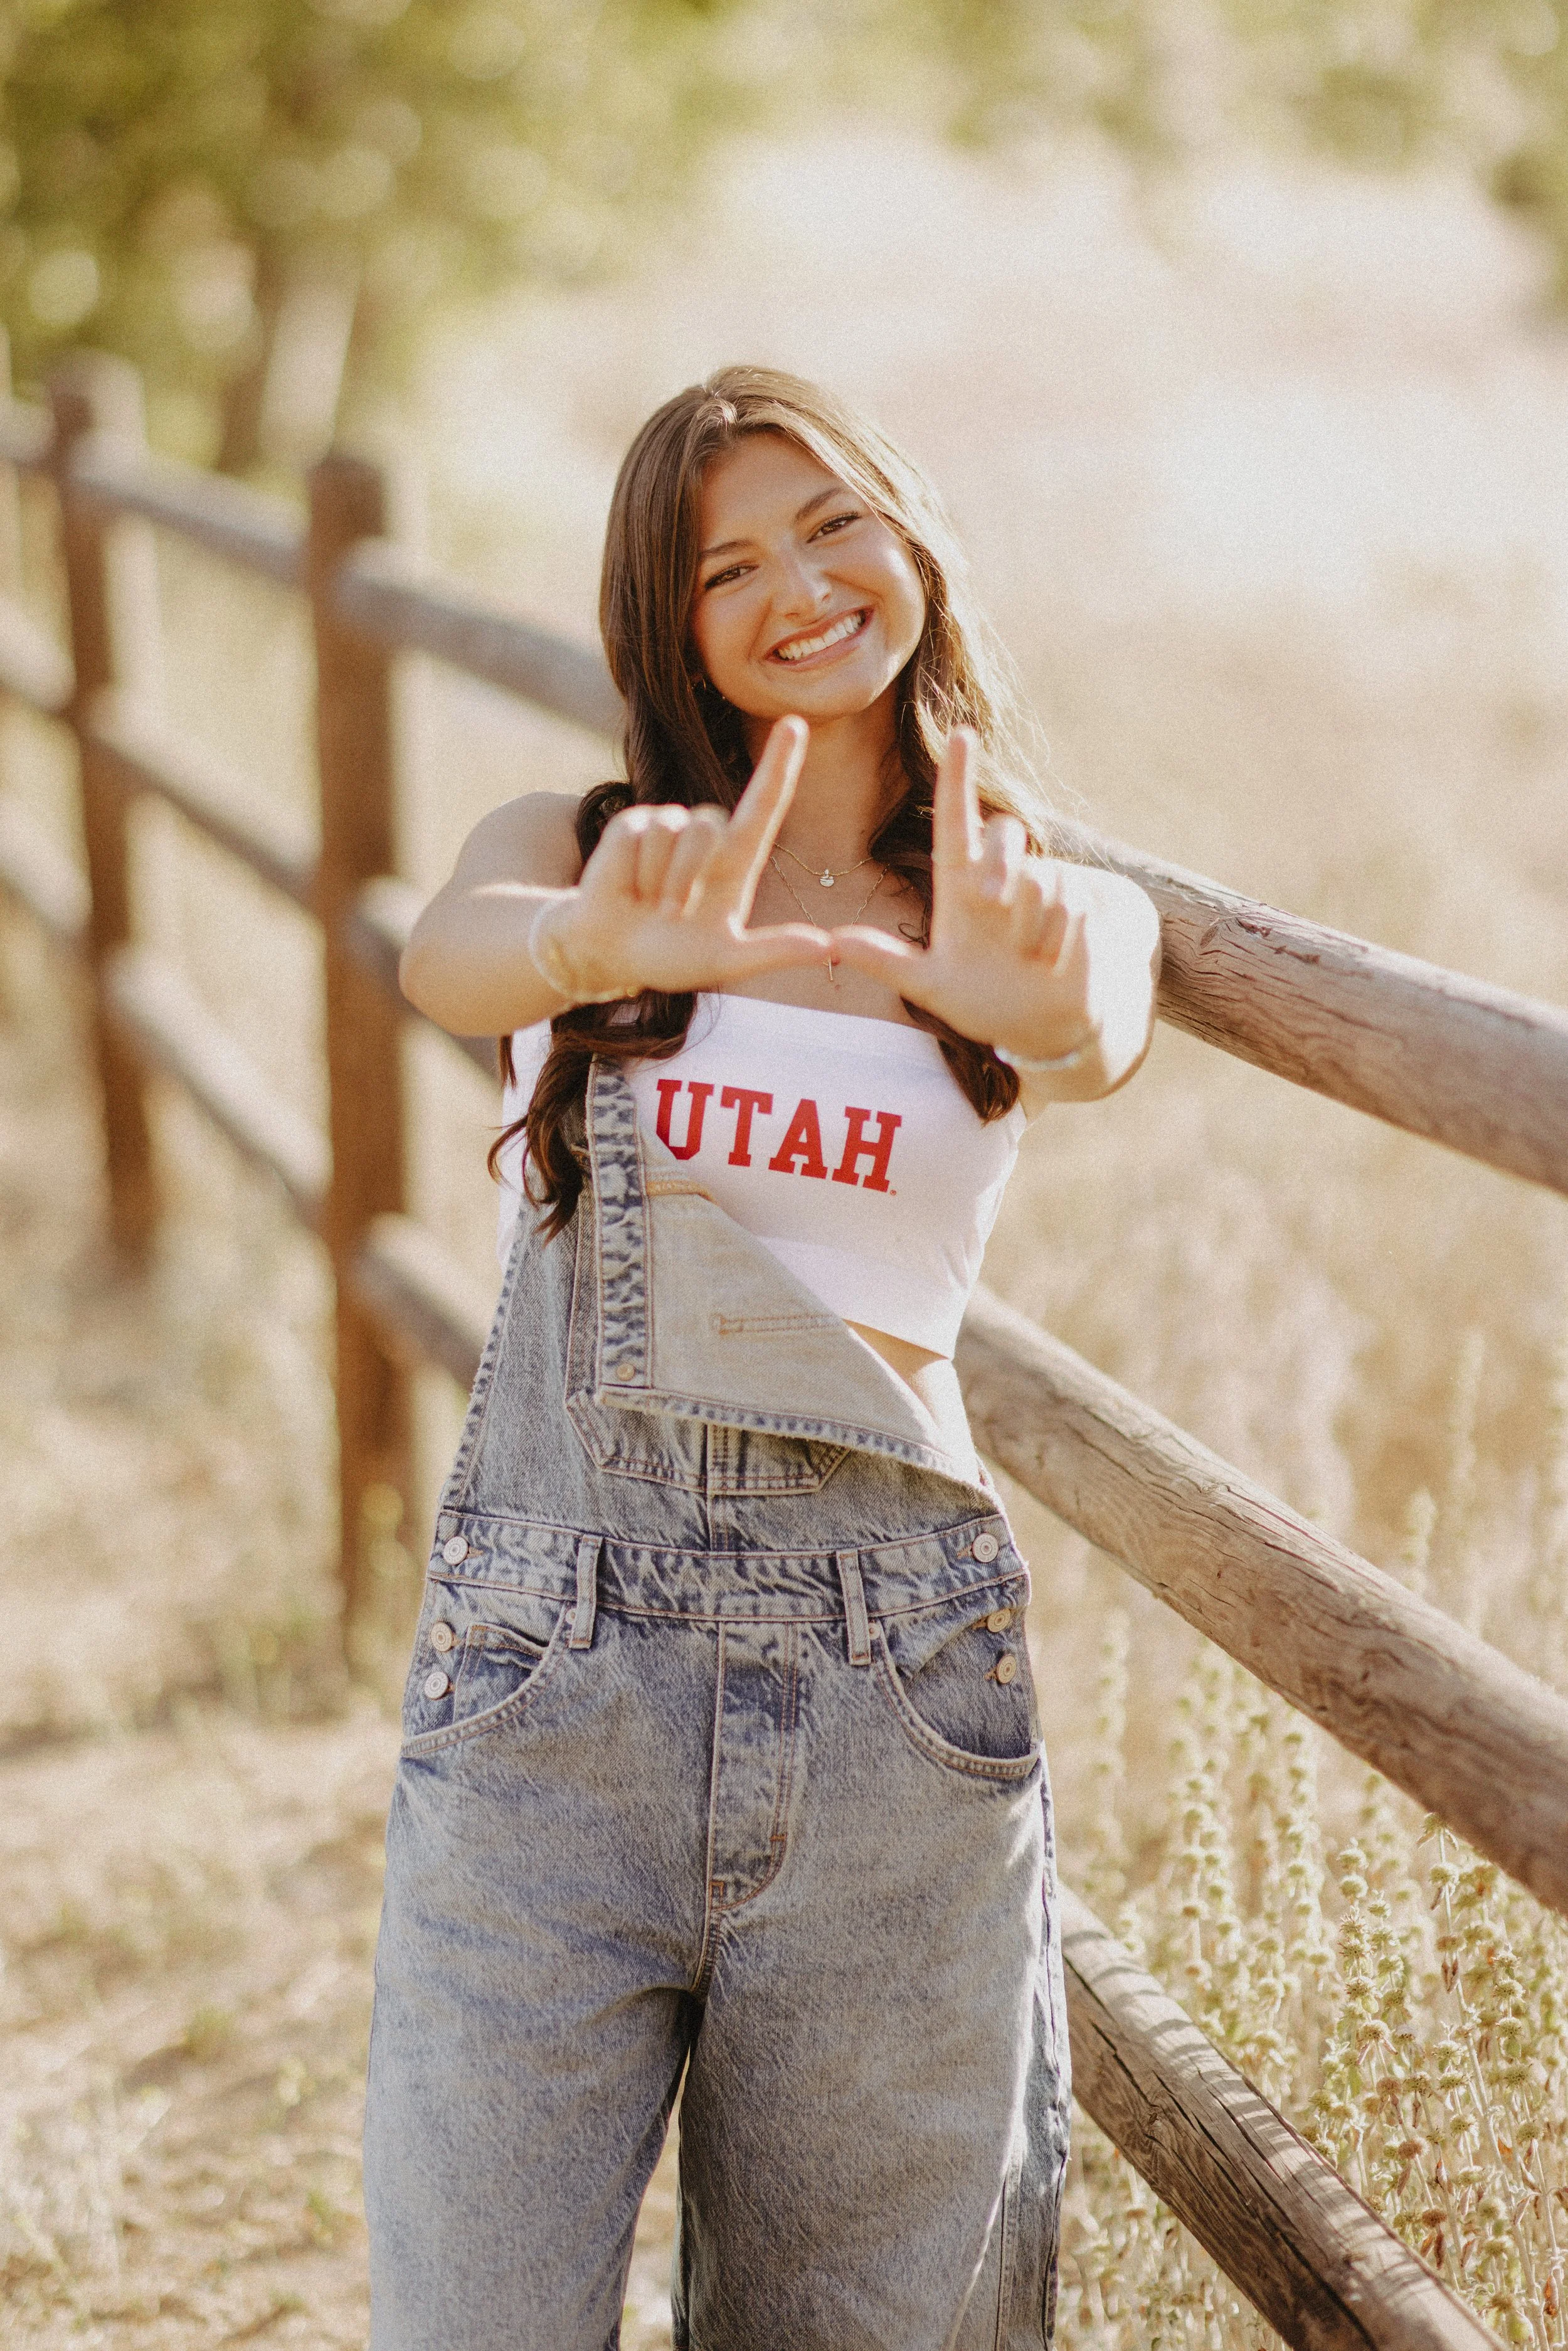
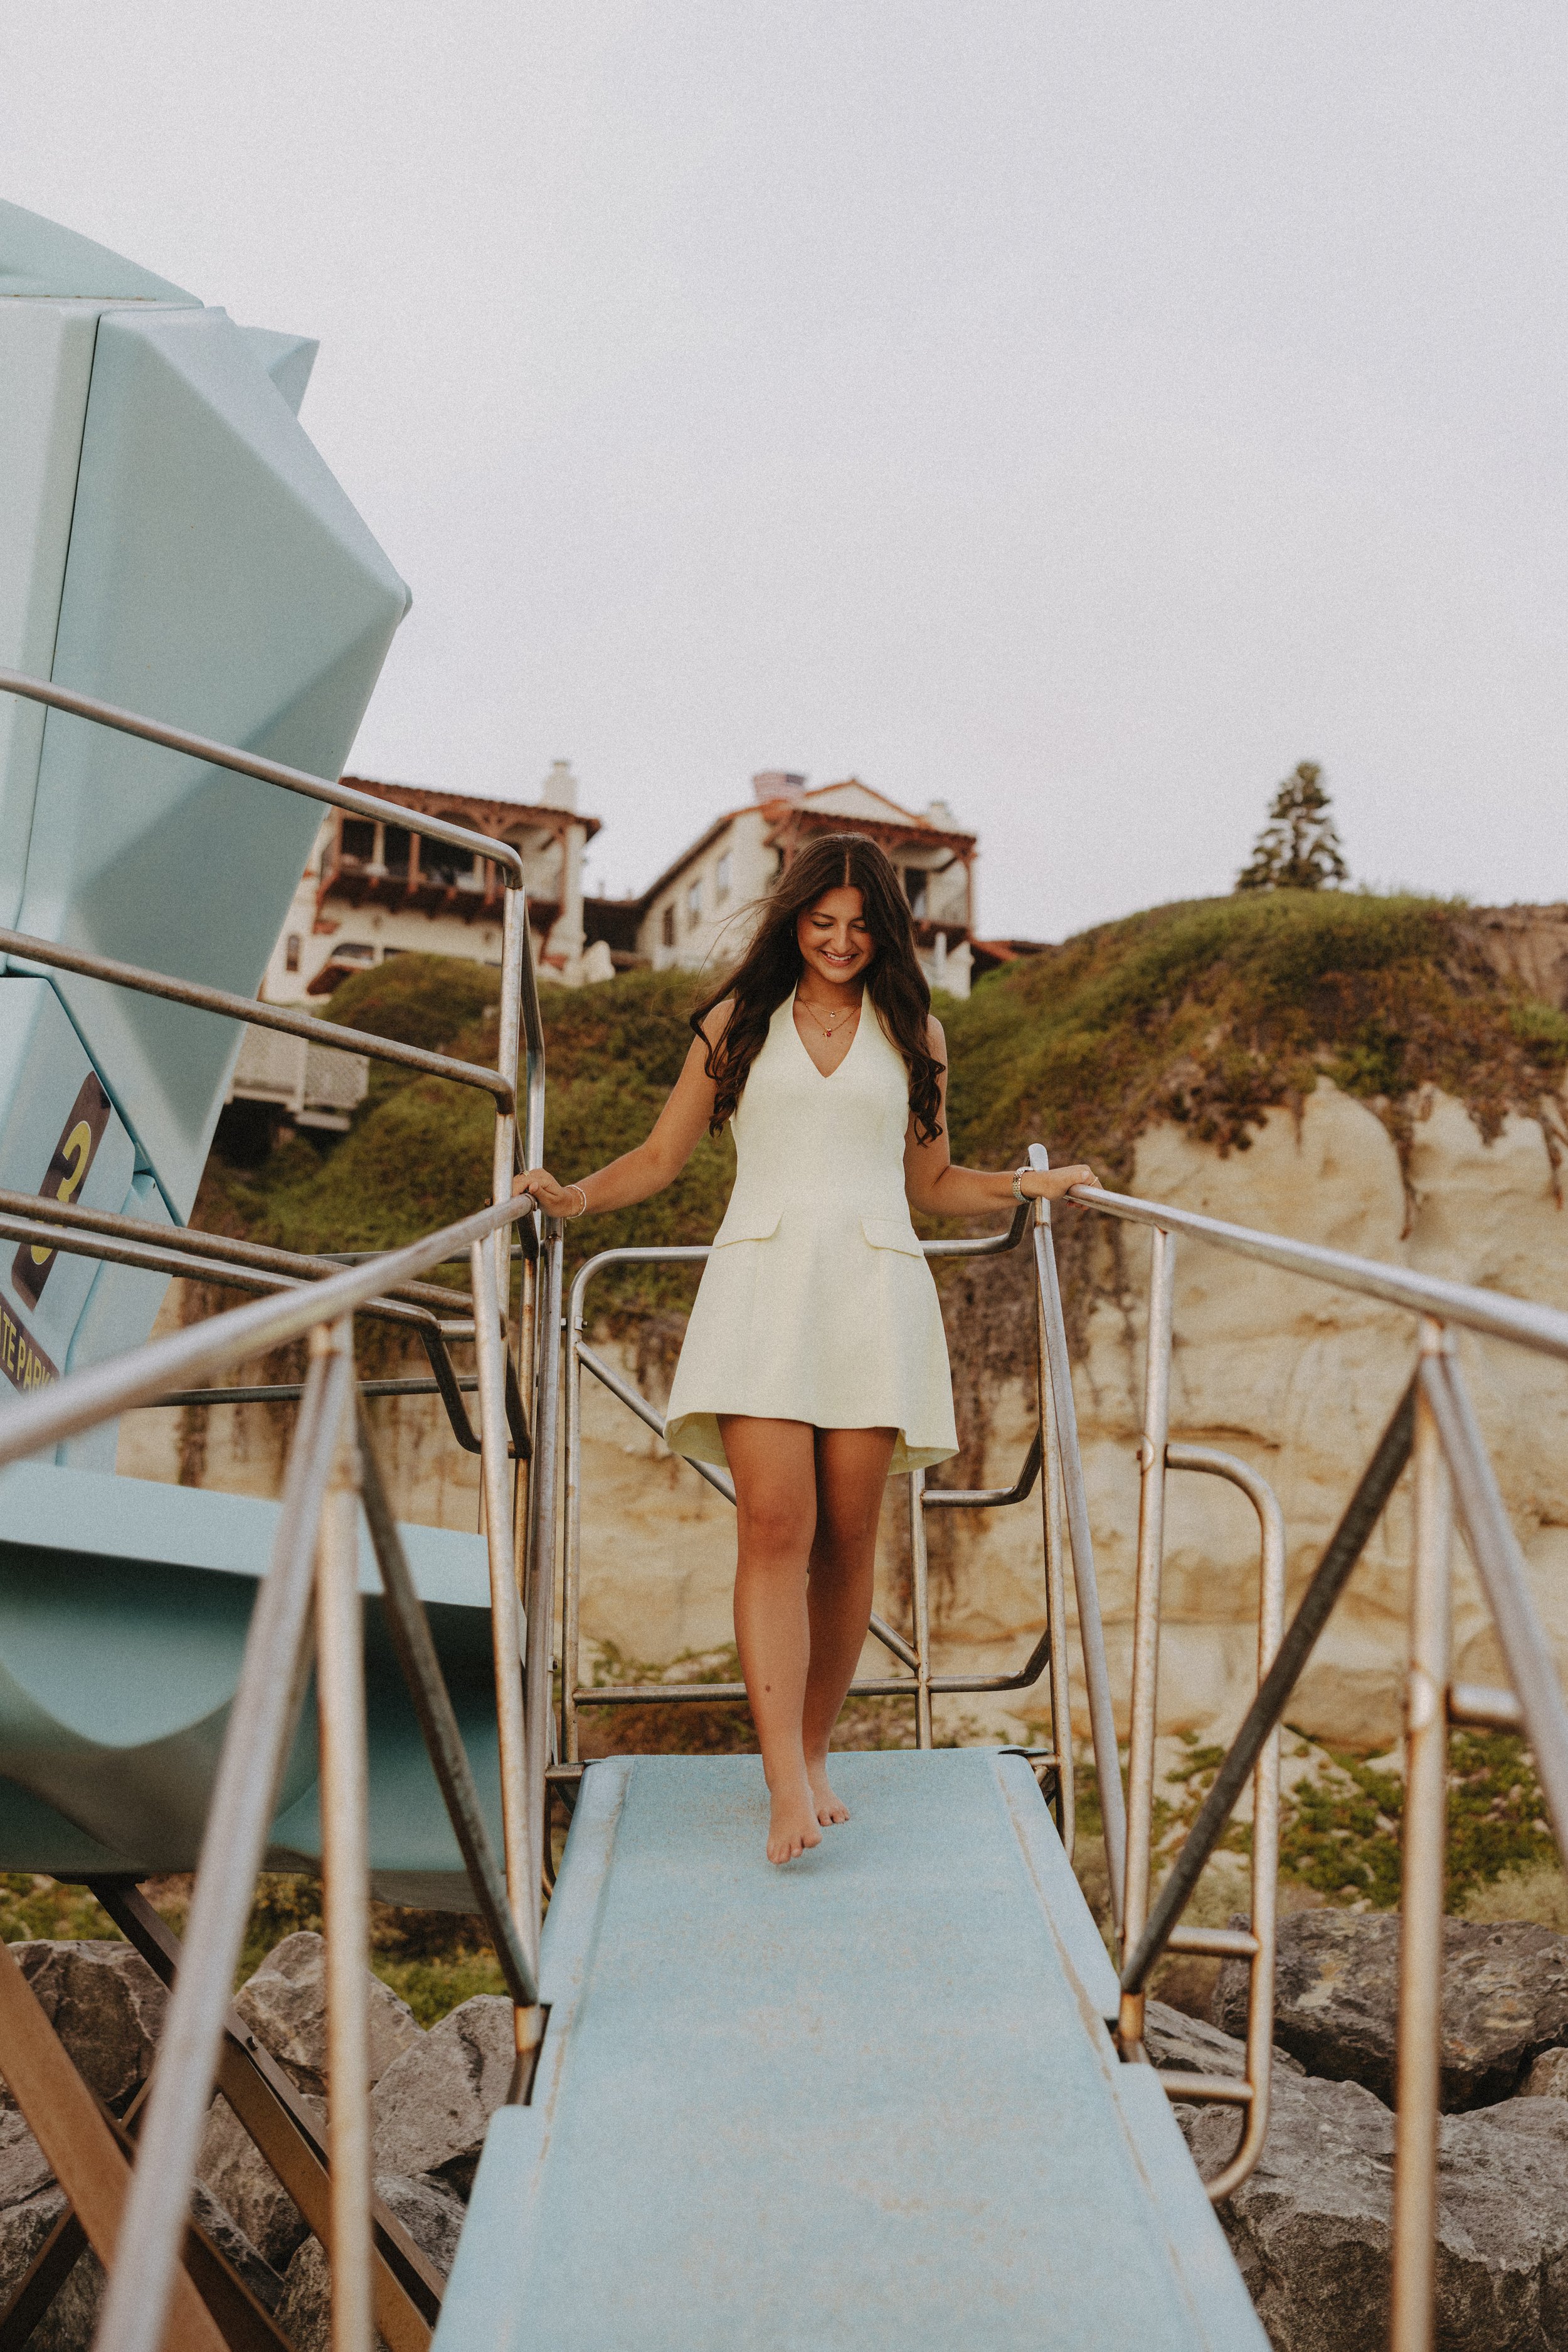
Step 2: Apply for Your Photoshoot | Spring of Junior Year
Our books typically open in May, toward the end of your junior year and right before the summer heading into senior year.
If you’re already on the waitlist, you’ll receive an email letting you know, “Hey, doors are open. Now is the time to go ahead and apply for a shoot!”
The photoshoot application is where things get a little more specific. You’ll share information like your ideal timing, budget, and preferences for your session. Once your application is submitted, you’ll receive a confirmation, and my team and I will review everything within 24 to 48 hours.
And if you’re already a senior reading this and thinking, Wait…I never joined the waitlist! Don’t panic. The next best step is to go ahead and apply for a photoshoot now.
Step 3: Read Your Next Steps Email | Within 24–48 Hours
Keep an eye on your inbox after applying because this is arguably one of the most important emails you’ll receive!
Your next steps email will walk you through exactly what needs to happen next, including setting up a consultation call with us. I’ll also send over additional information you can browse before we chat.
Step 4: Your Consultation Call | As Early as Possible


Your consultation may happen anywhere from about one to eight weeks after you apply, depending on availability.
Even if you apply in May and don’t want your senior photos taken for another six or ten months, I still recommend setting up your consultation as soon as possible. Doing this gives you the earliest access to our available dates for the year.
More importantly, this call gives us a chance to meet each other and make sure I’m the best photographer for your specific needs.
We’ll talk through what’s included, how everything works, what to expect, timing, availability, locations, and investment. The goal is for you to leave our call with no questions left unanswered so you feel really confident about moving forward.
And no, you do not need to have everything figured out before we talk. You don’t need your outfits picked. You don’t need to know your locations. And you definitely don’t need to know how to pose or be “good” at getting your photo taken.
That’s my job!
Step 5: Start Session Prep | After Booking
You’re officially booked! Now we get to the fun stuff.
The amount of time between booking and your actual photoshoot will vary, but this is when you can start pulling together outfits, creating your Pinterest board, thinking through your vision, and getting excited.
If you opt into hair and makeup, I’ll take care of coordinating that for you, too.
Meanwhile, there’s plenty happening behind the scenes on my end. Depending on your session, I may be location scouting, tracking permits, watching the weather, checking sunset and tide times, communicating with park rangers about conditions or closures, prepping props, and making sure caps and gowns are steamed and ready to go.
There are a lot of moving pieces, but we’re proud to offer you the chance to kick back, relax, and enjoy the experience while we take care of the logistics.
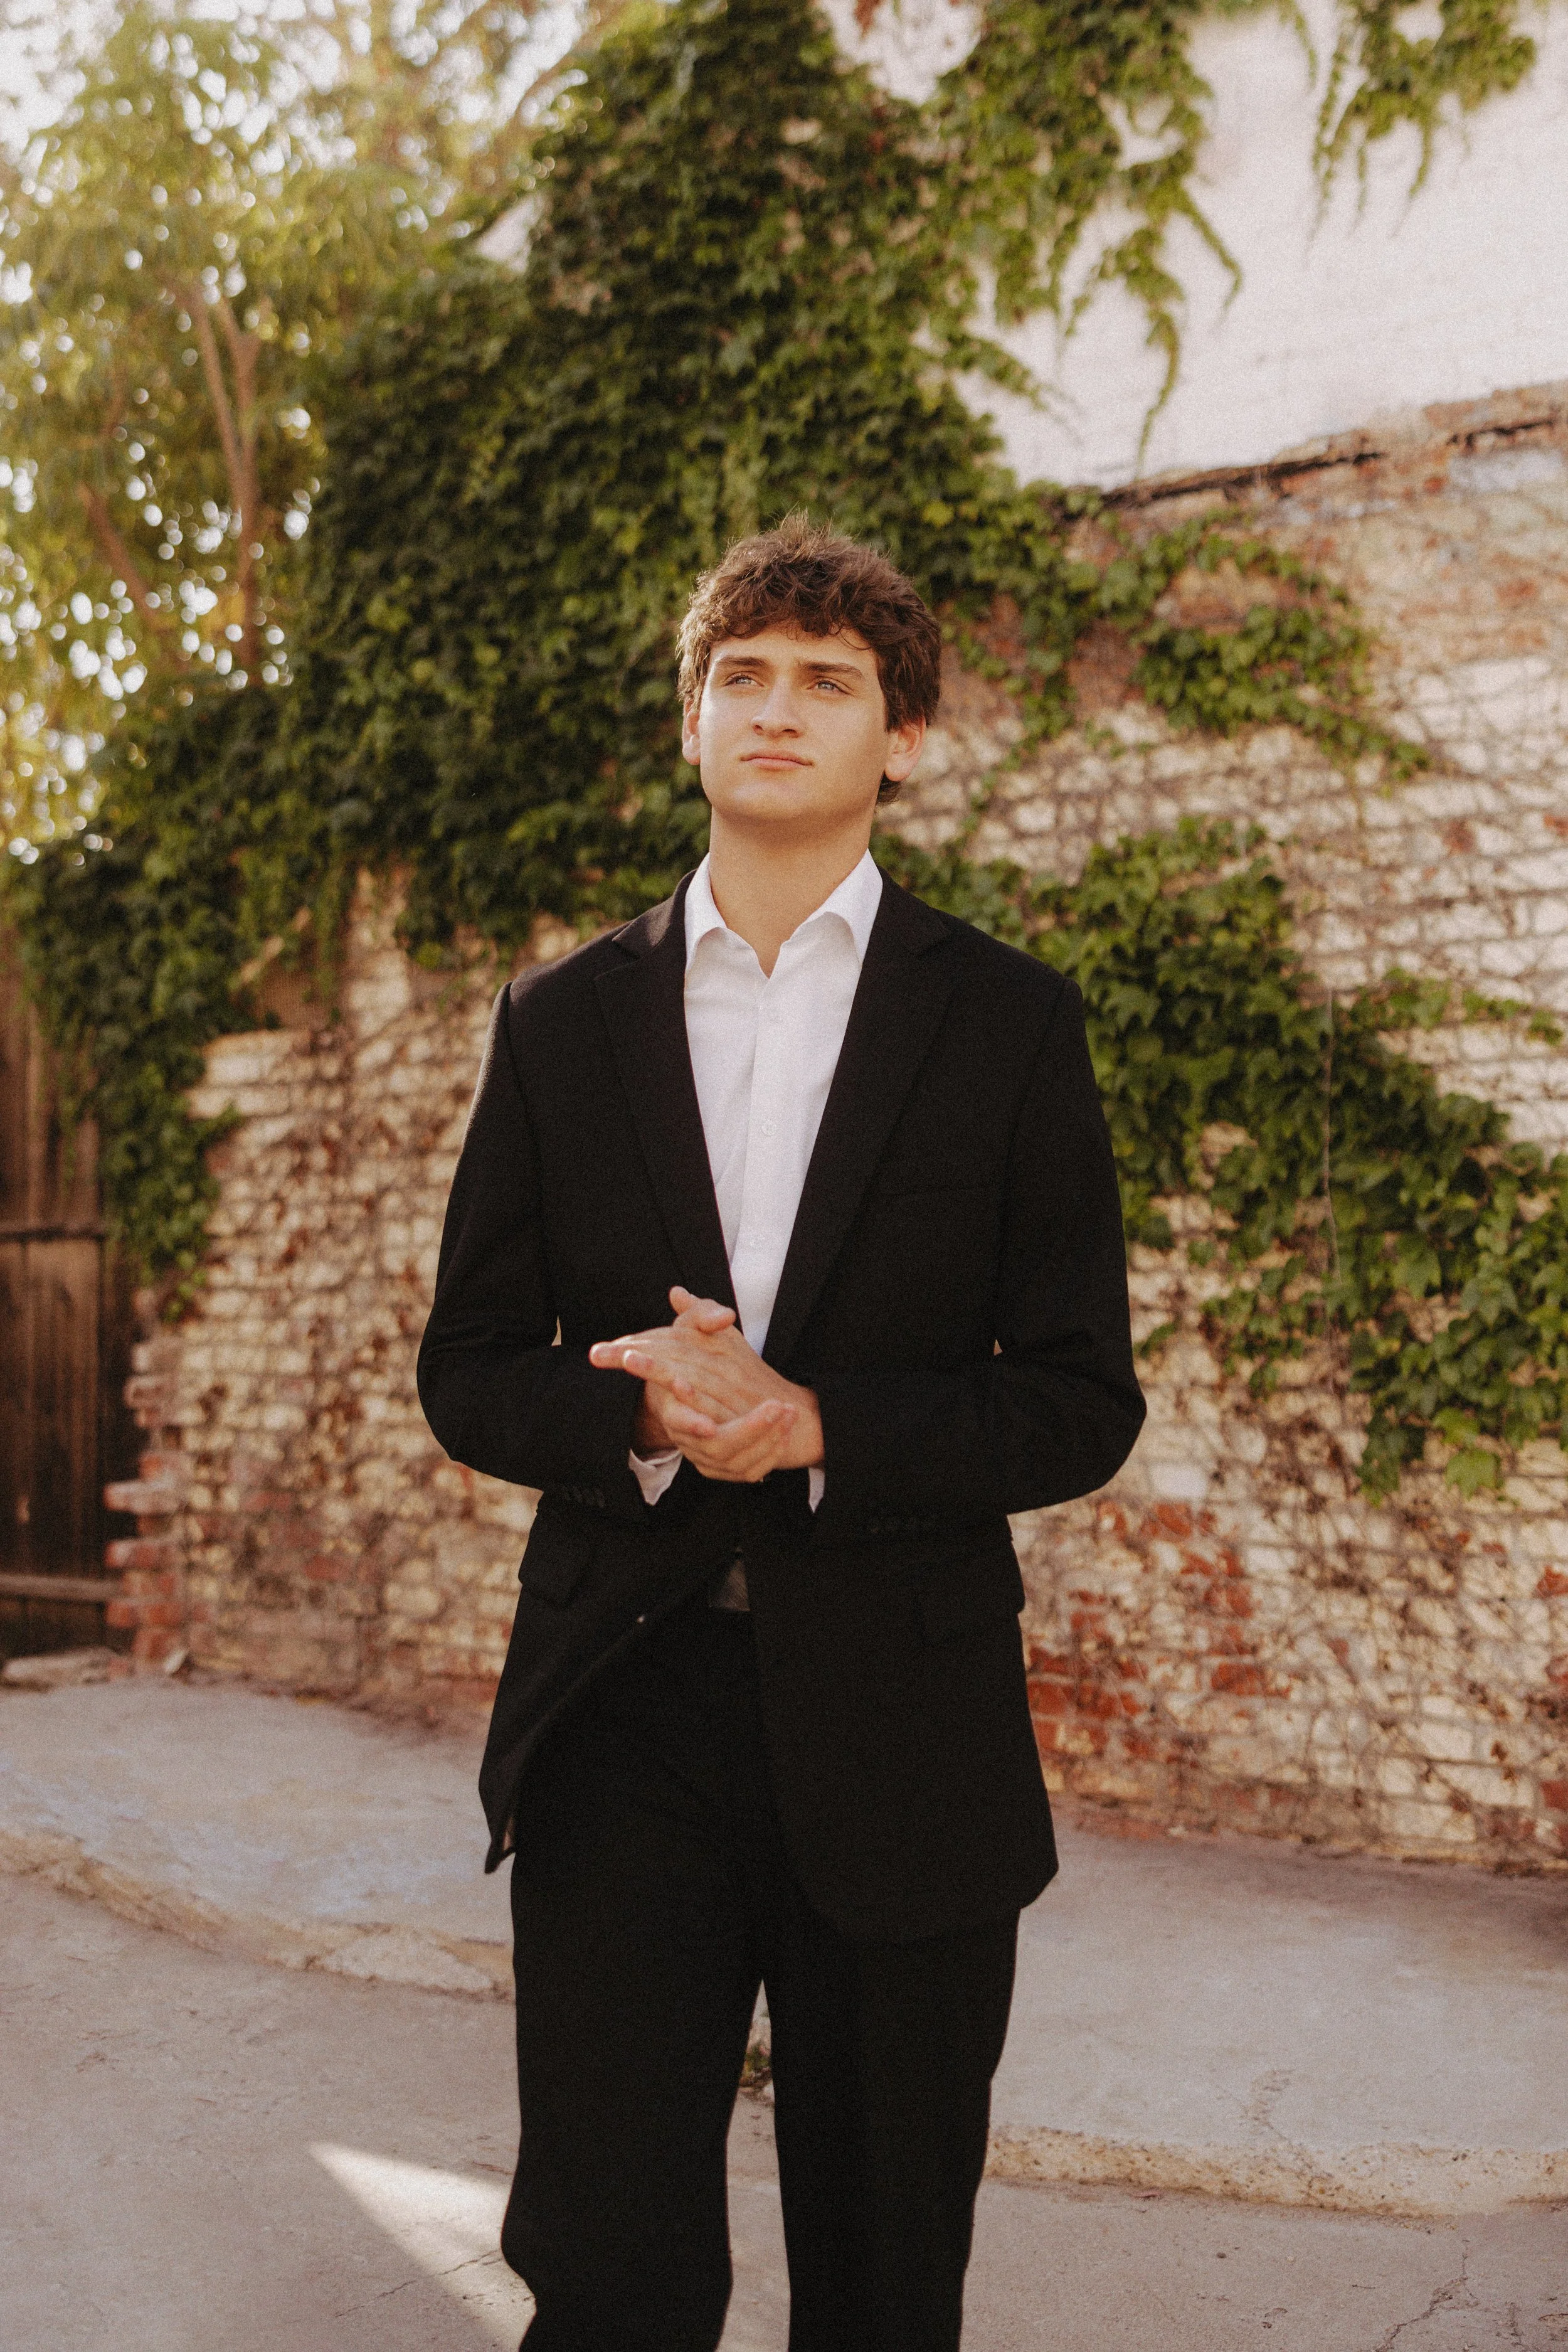
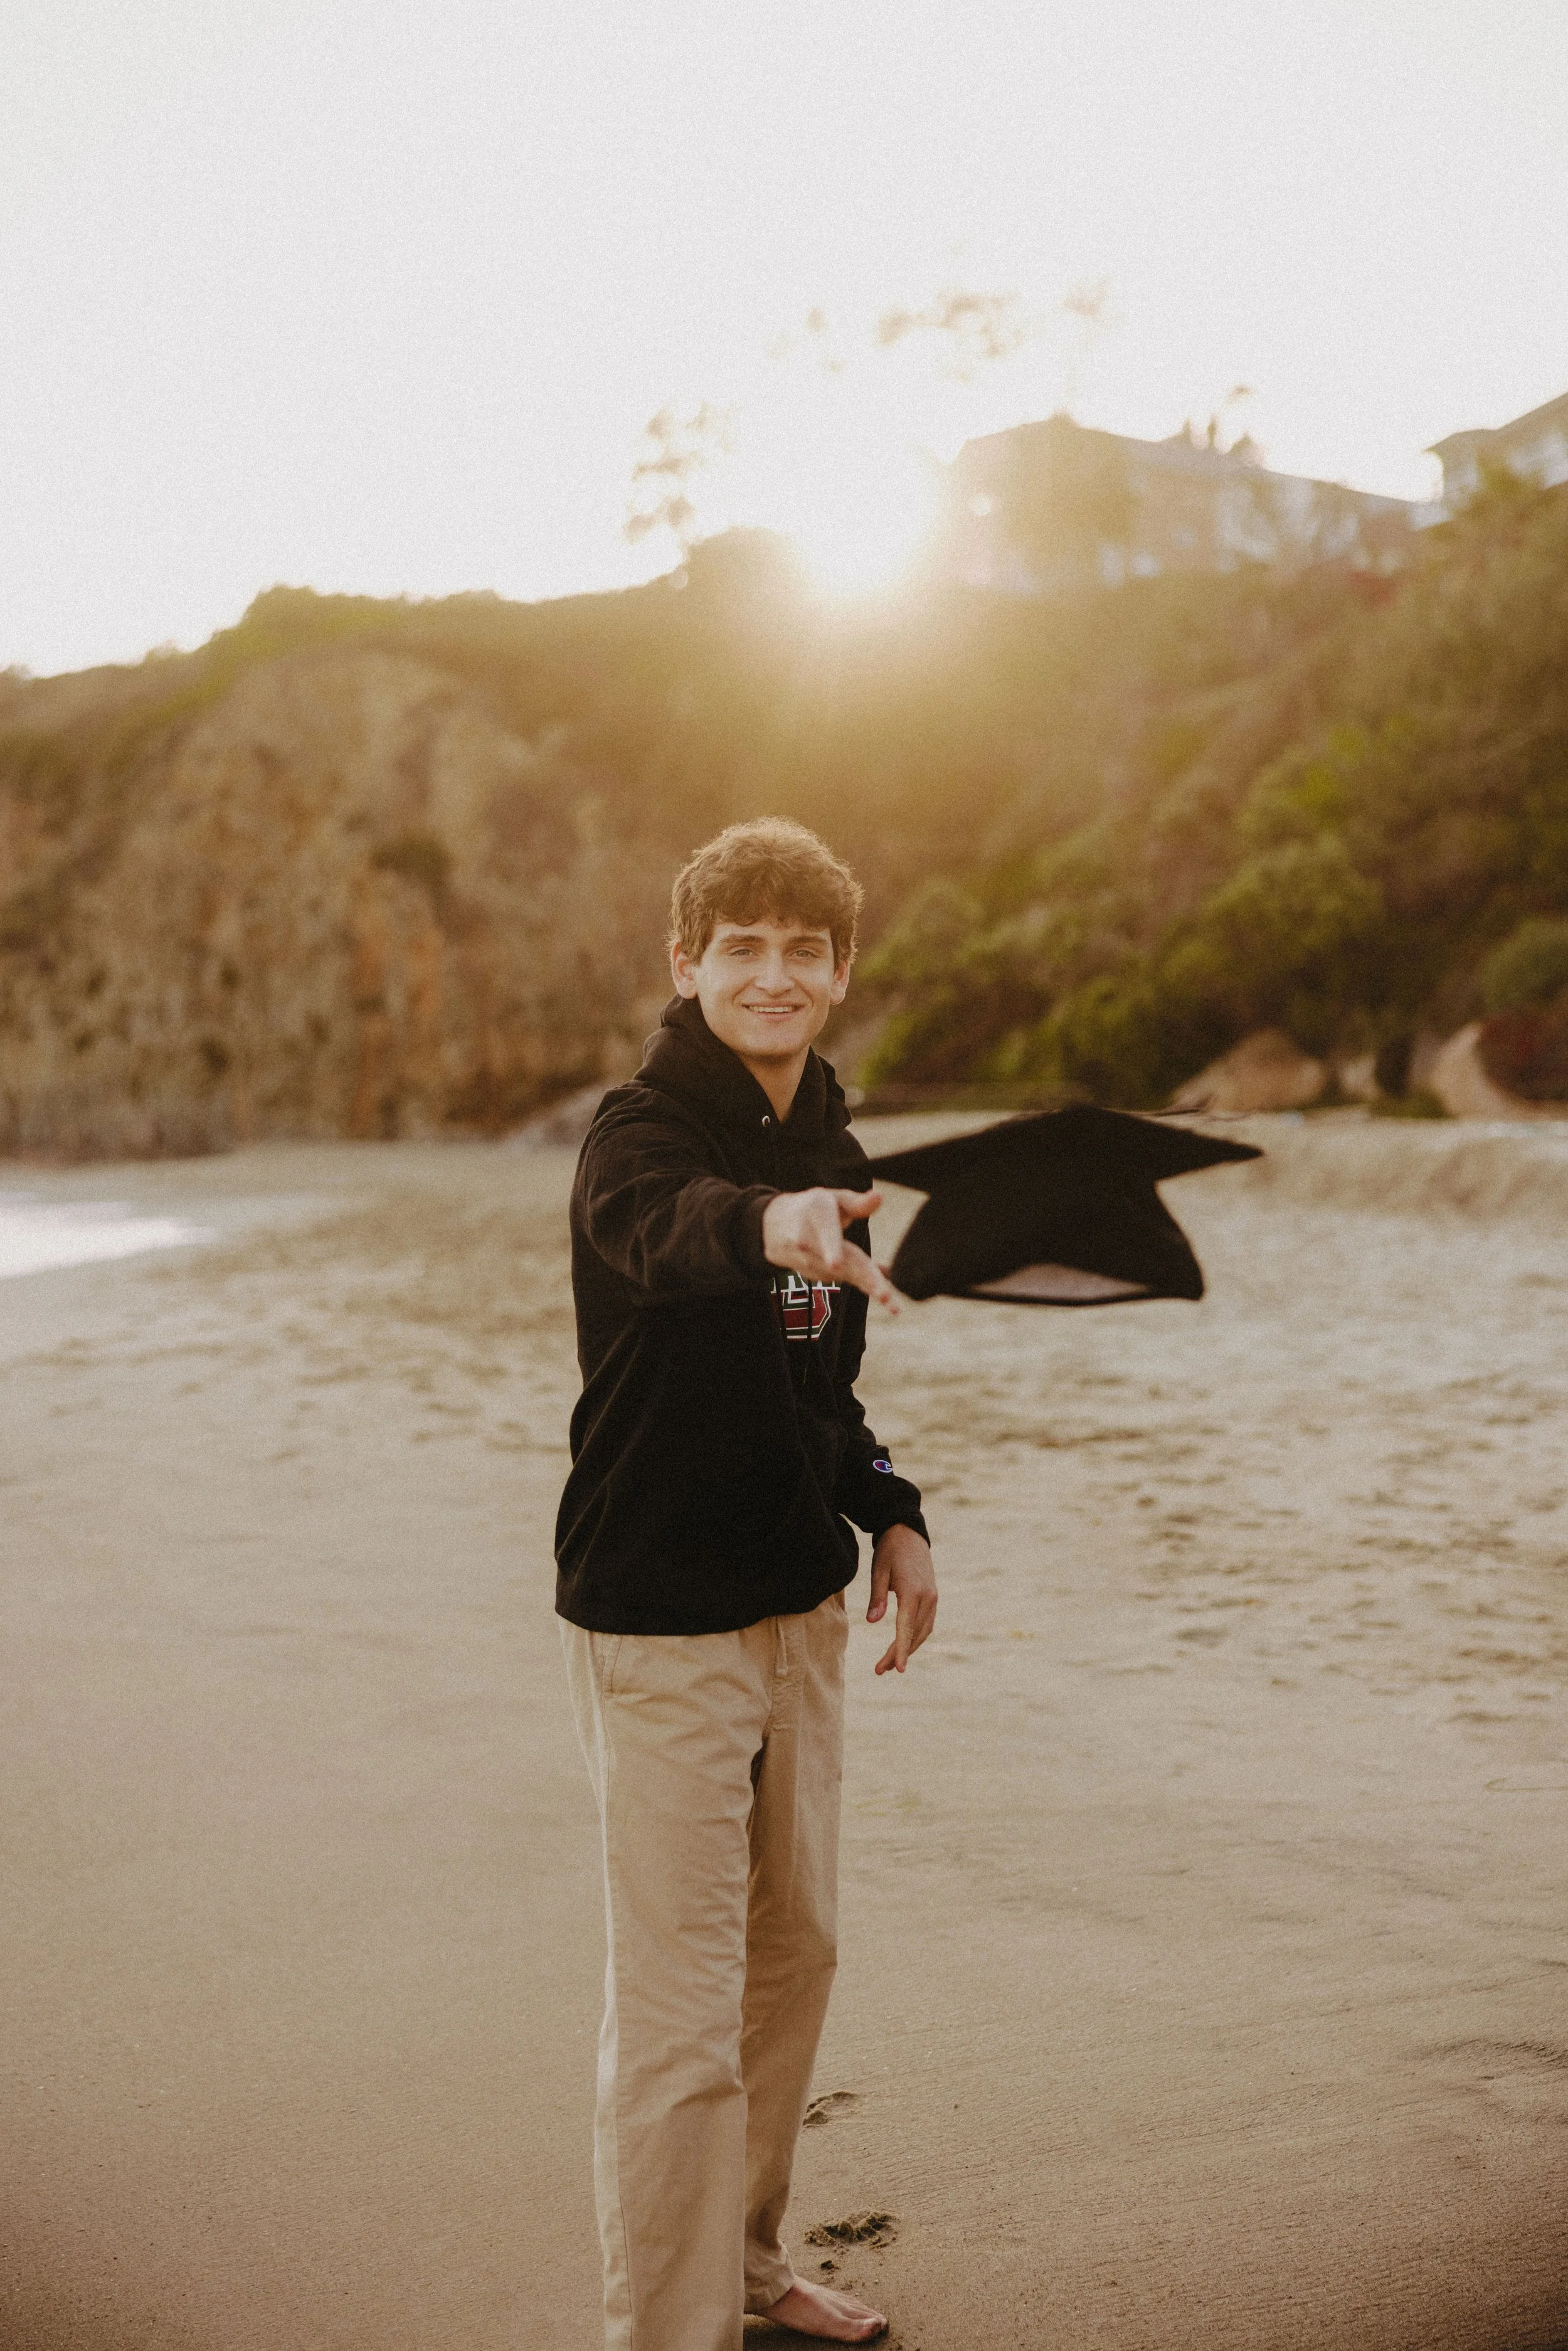
Step 6: Your Session Prep Email | One Month Before
Exactly one month before your shoot date, you’ll receive a super detailed email with everything you need to know about session day.
We’re talking parking locations, pins, outfit reminders, which outfits to wear first, and even reminders about those completely normal pre-session nerves.
Again, my goal is to take things off your plate, not add things to it. I’m in your corner!
Step 7: Final Touches | One Week Before
With one week to go, be on the lookout for your packing checklist email and revisit your client hub for final reminders about what to bring.
At this point, the best thing you can do is try to maintain a relaxing schedule, get some really great rest, and remember that pre-session butterflies are completely normal.
You’re in great hands, and this is going to be FUN!
Step 8: Session Day!
This is what we’ve been waiting for!
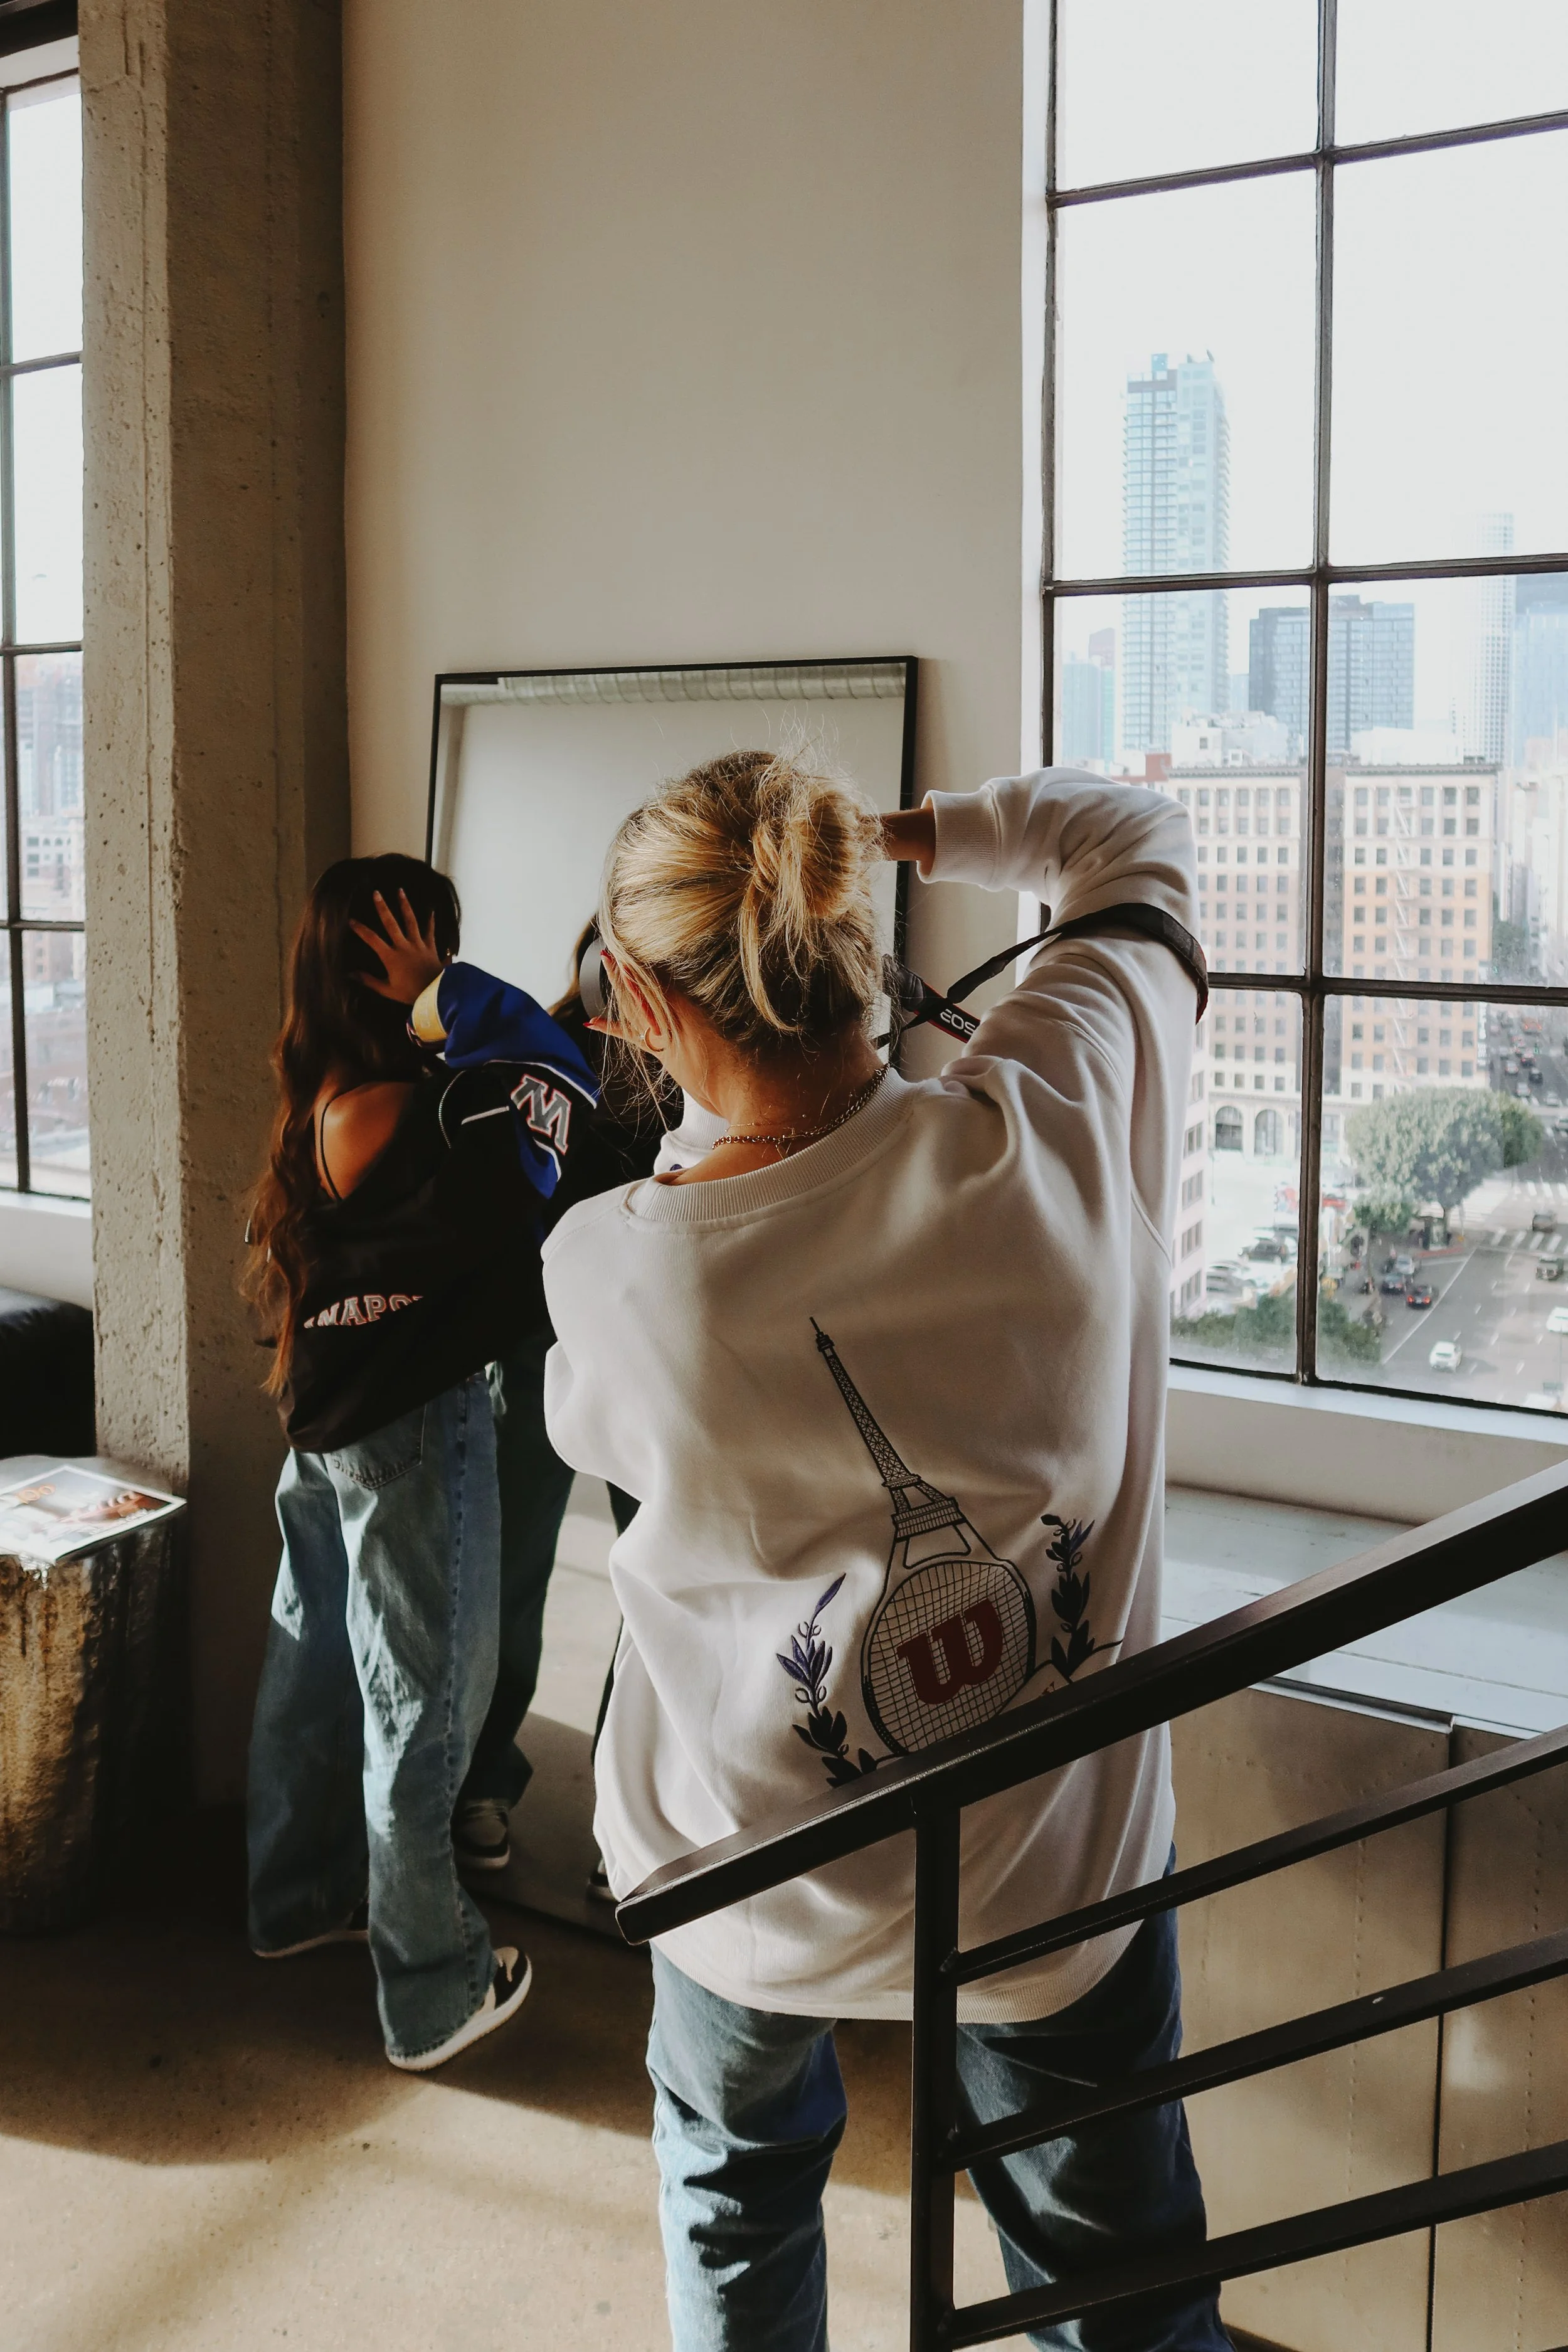
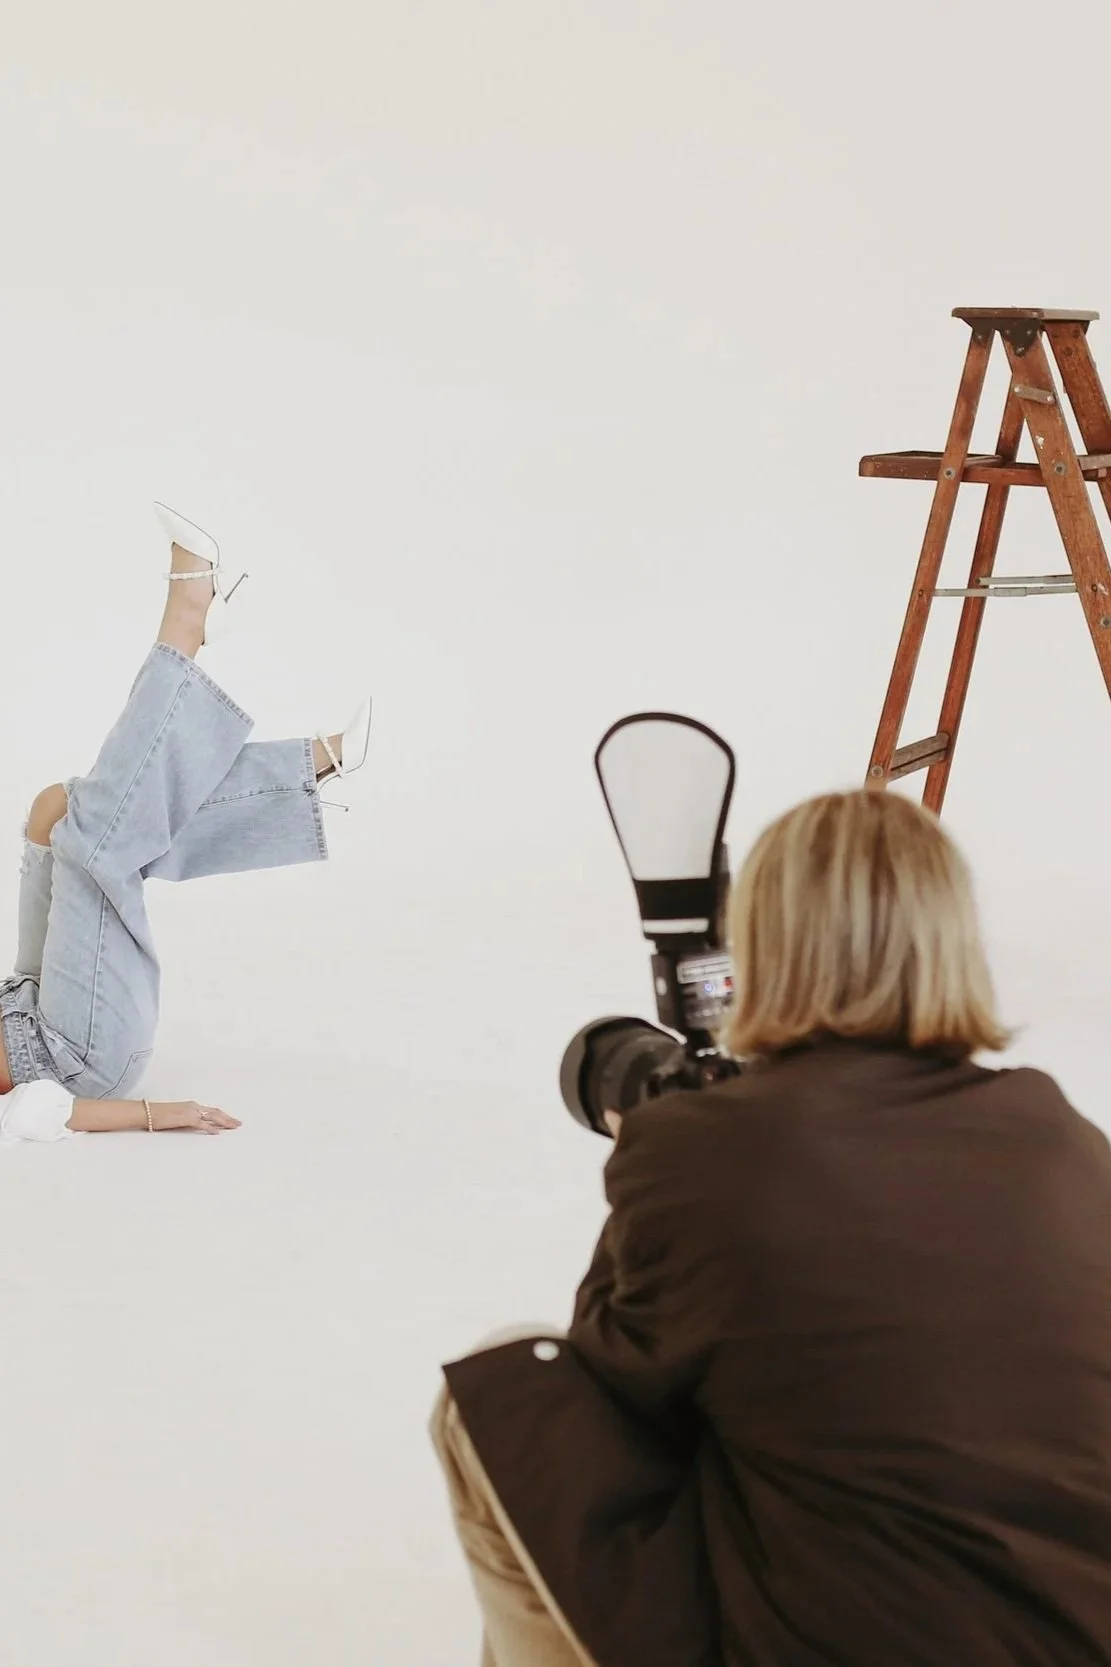
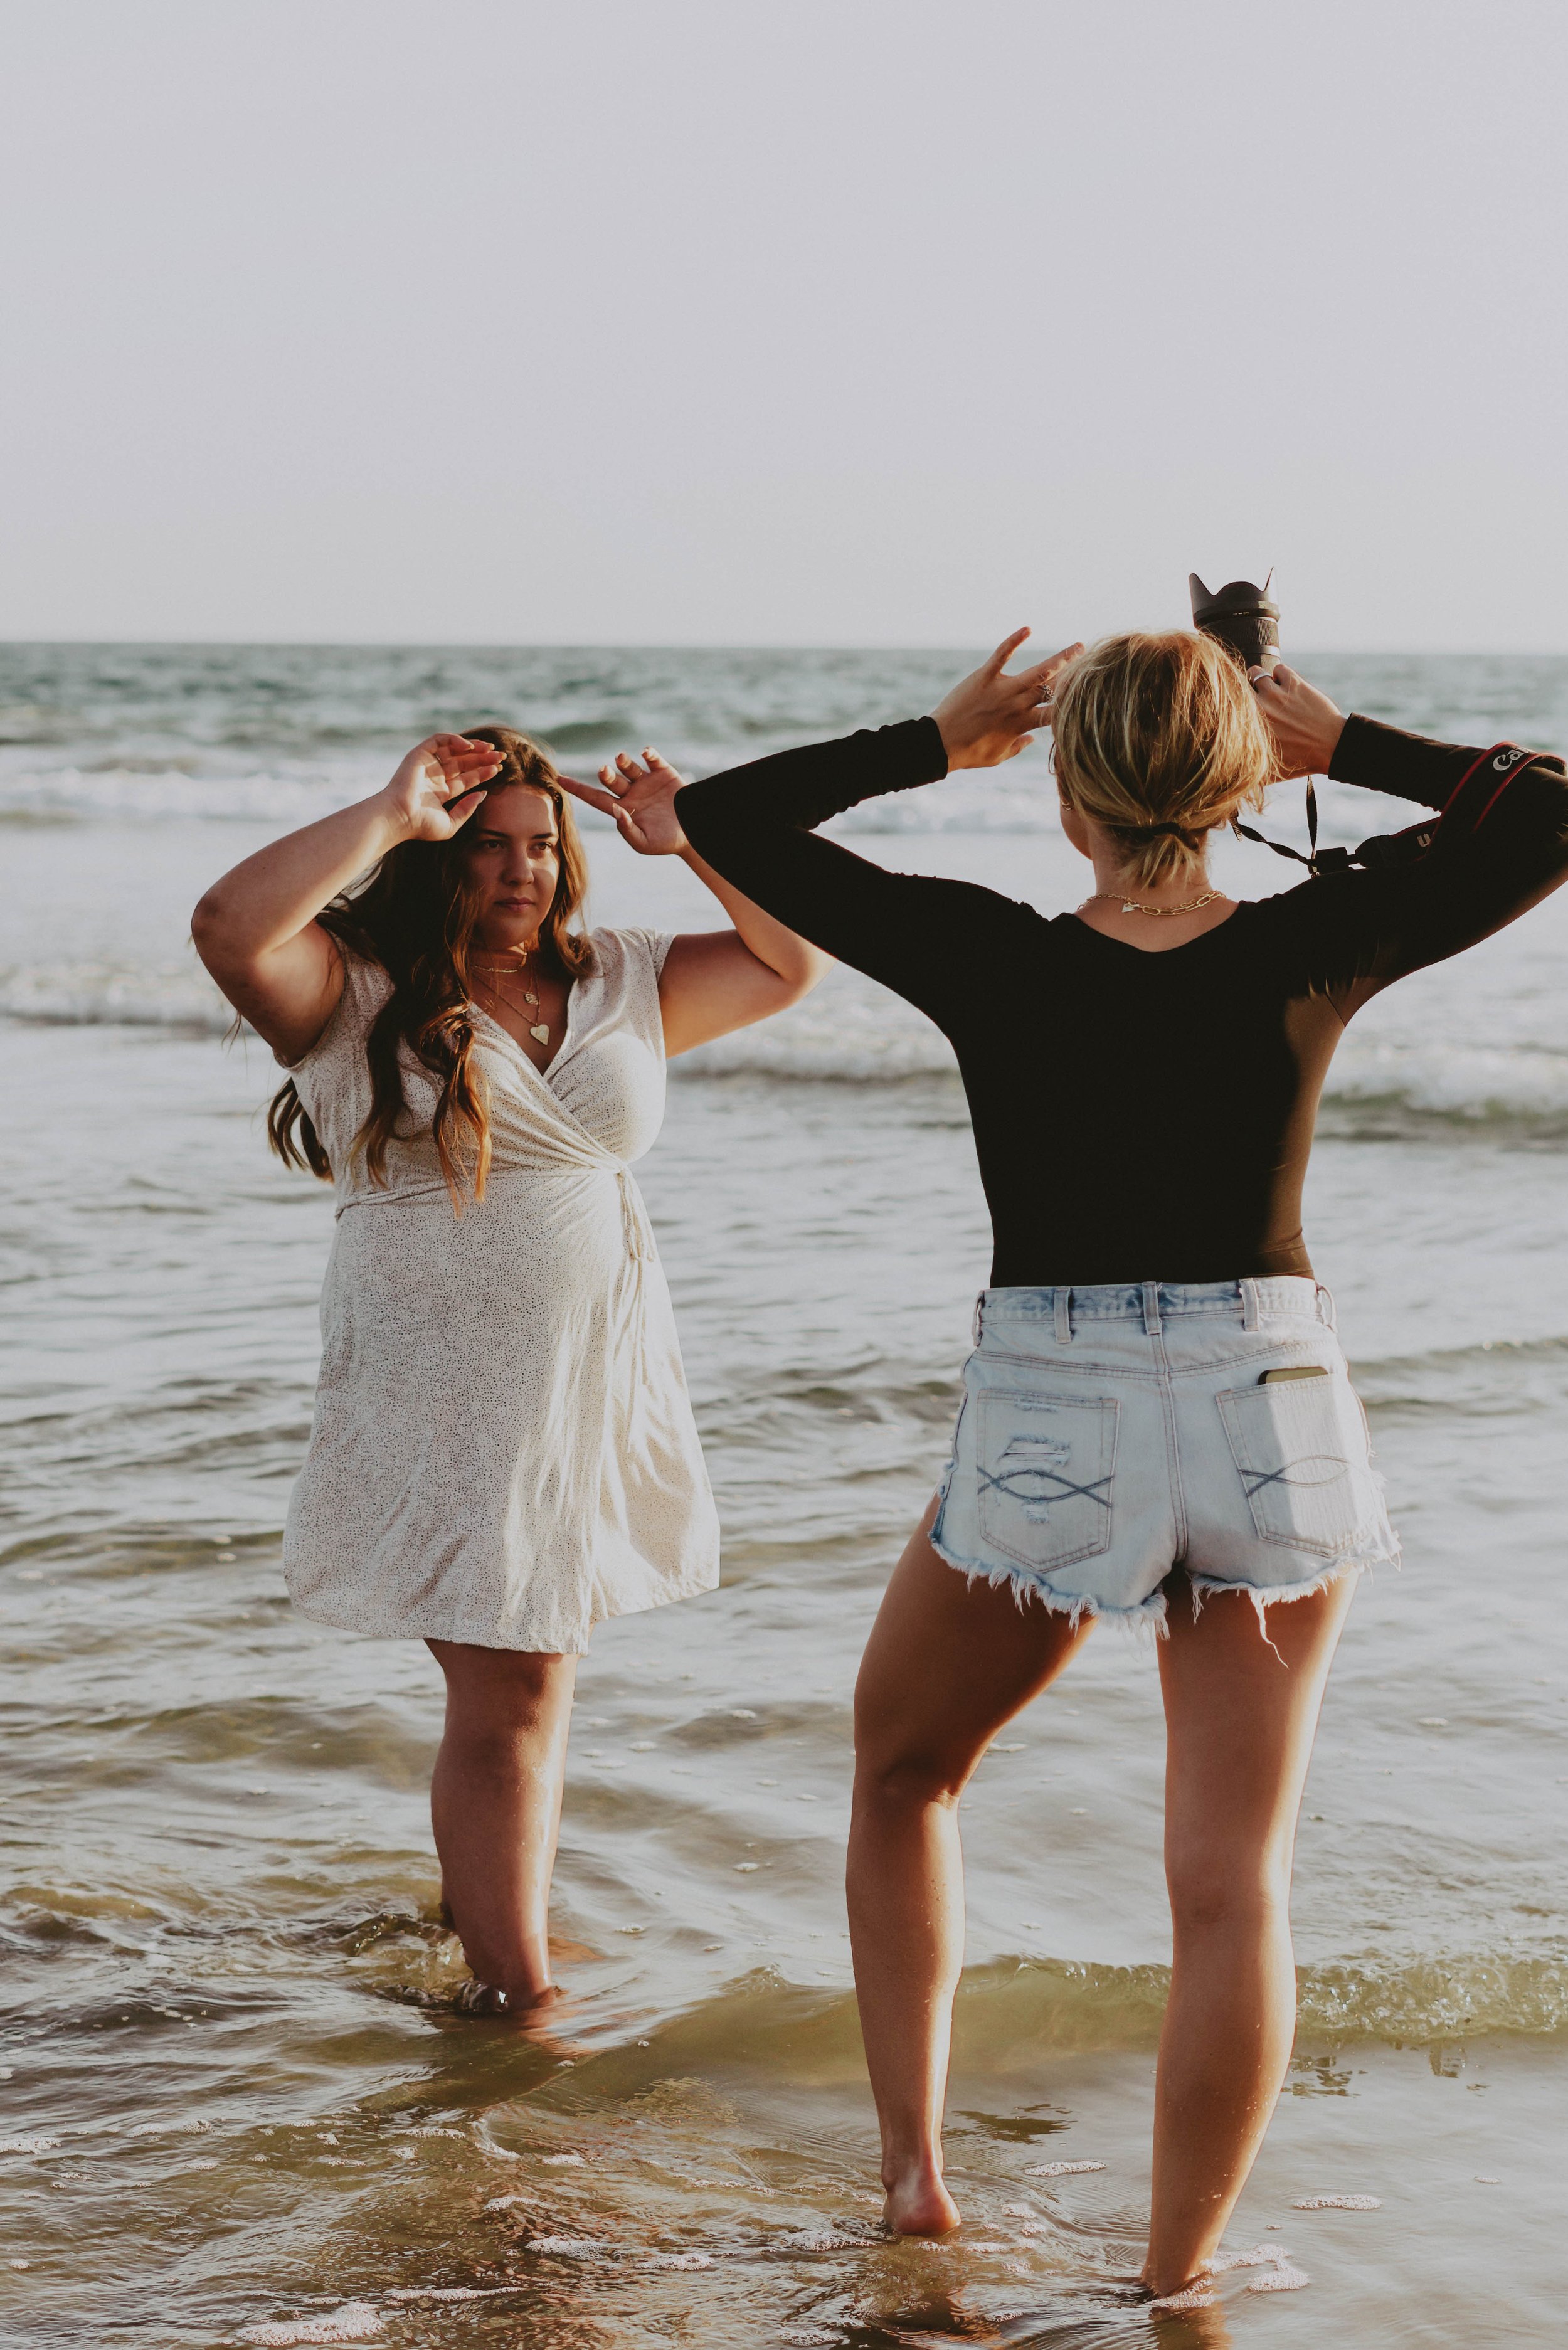
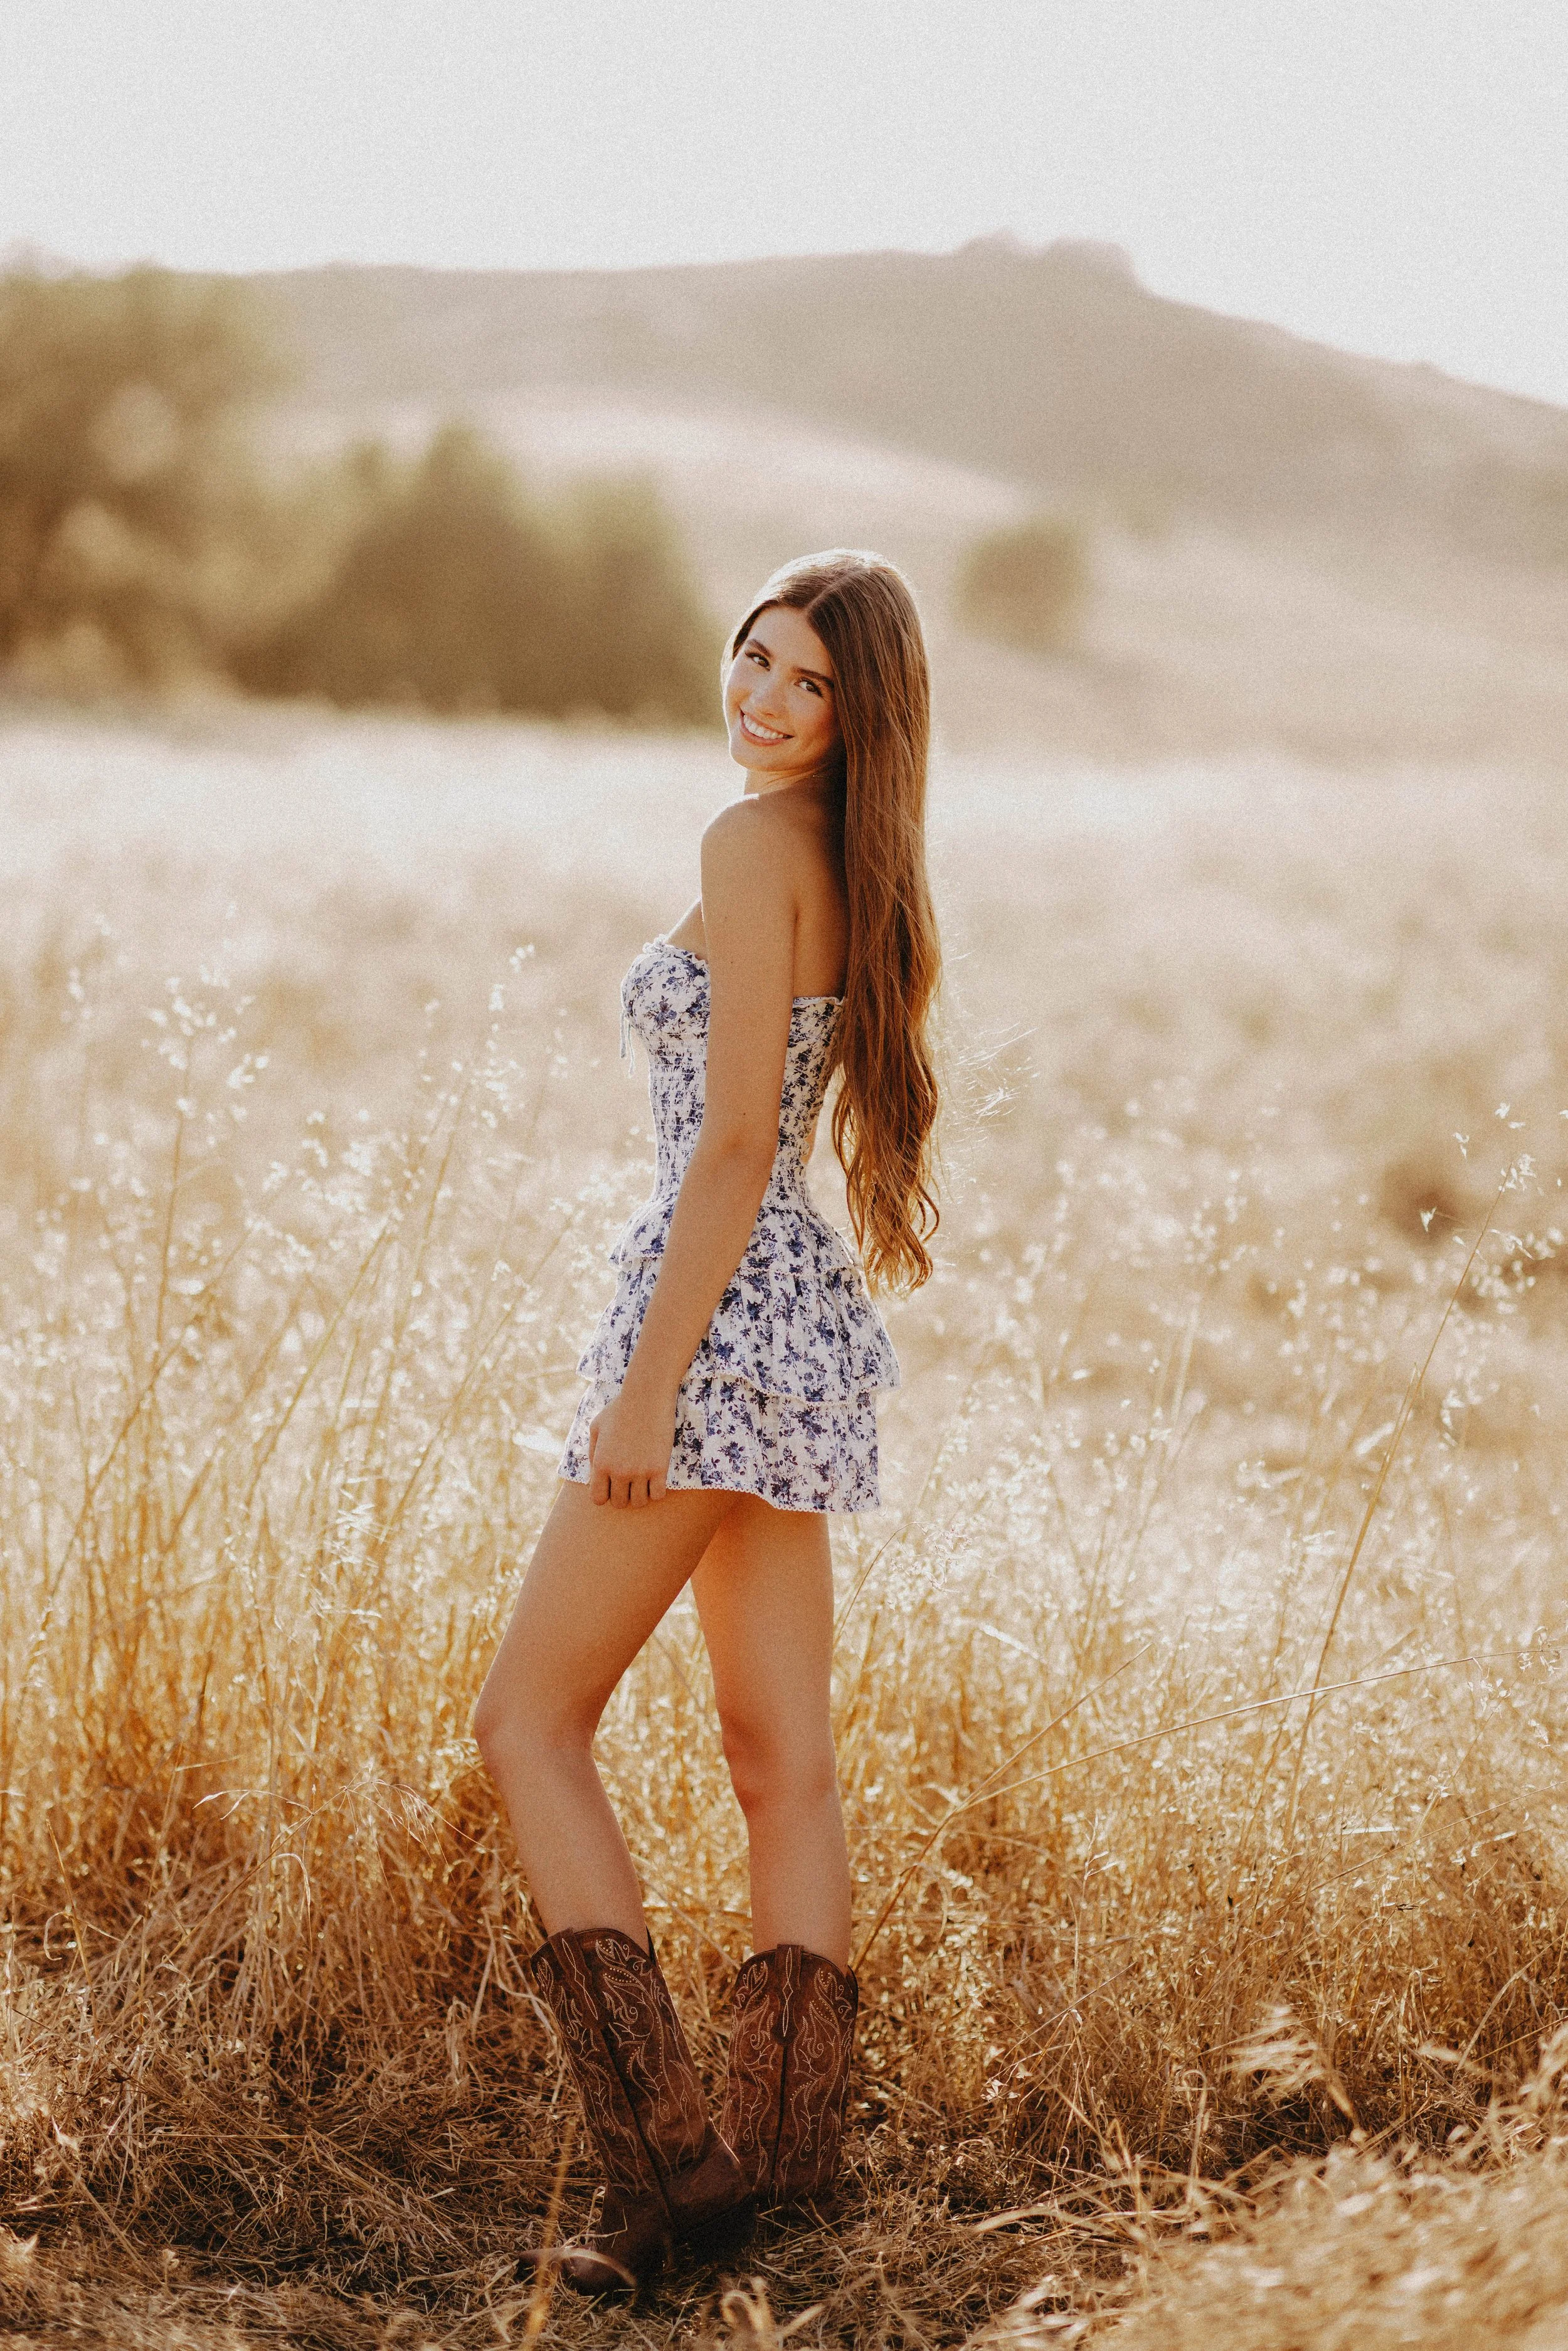
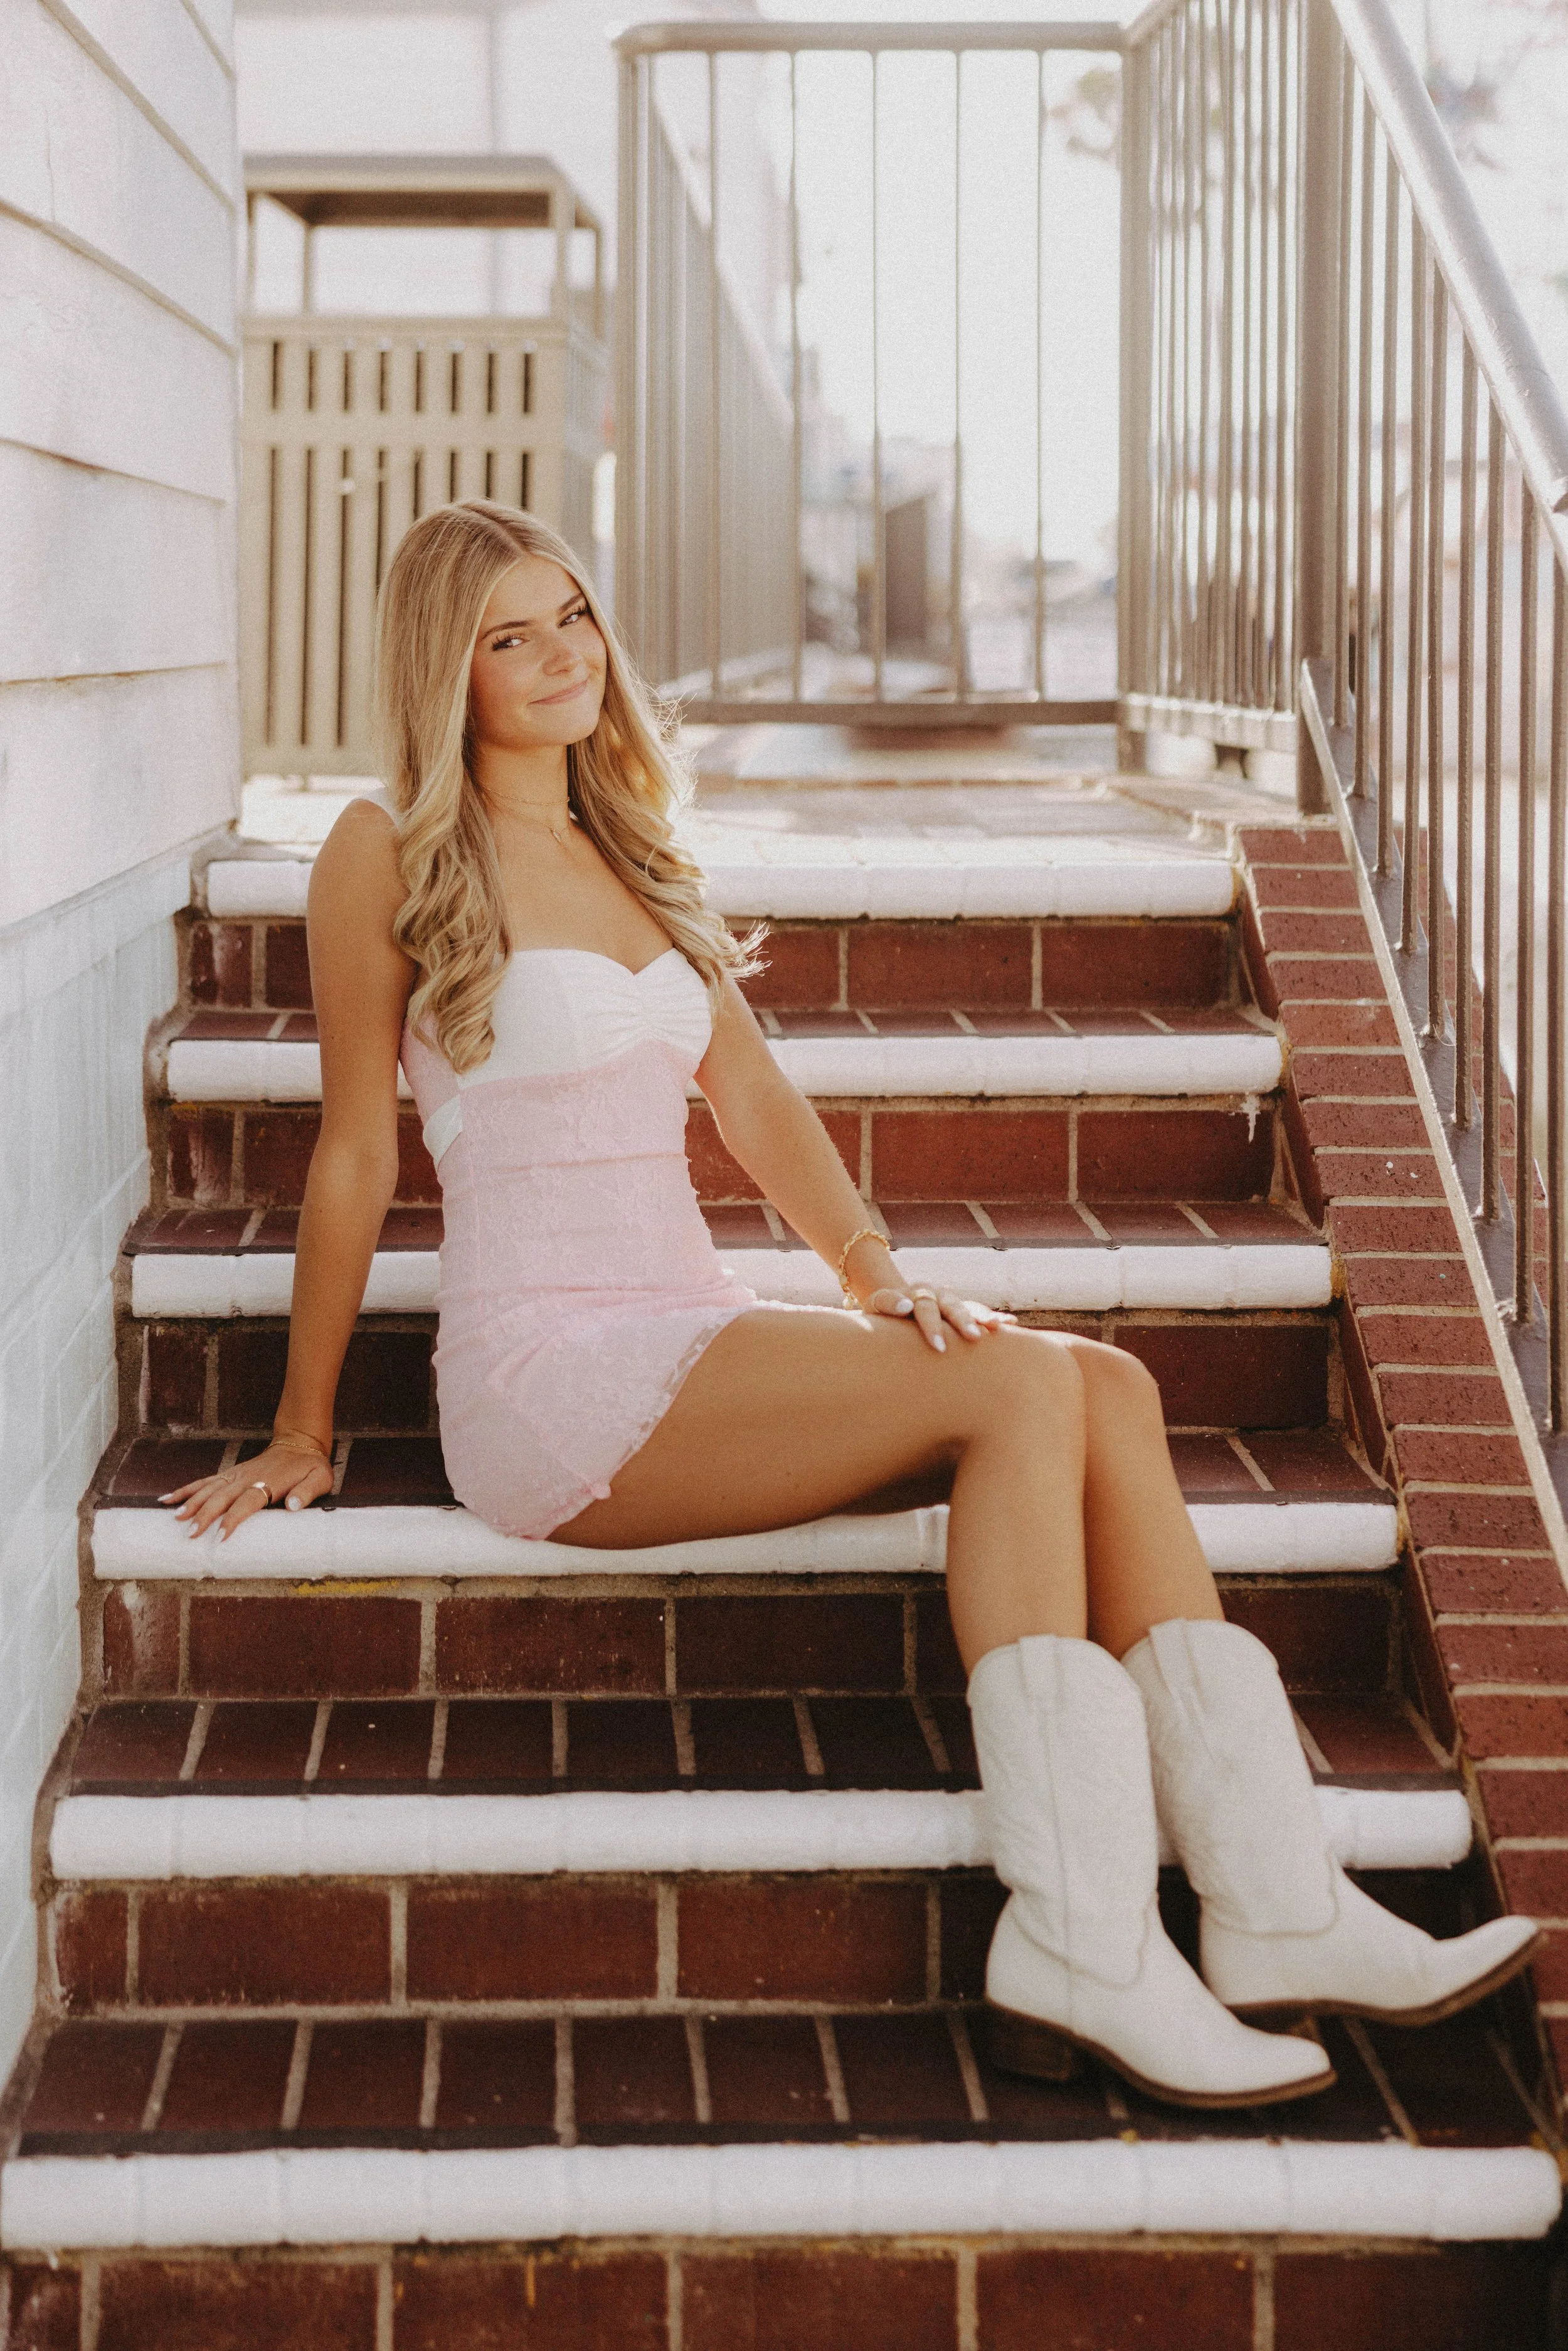
Me, you, and a parent bop around beautiful locations here in Southern California. You’re the model for the day. You’re the focus. We’ll play your favorite music, explore our locations, and create some really incredible photos together.
But session day is about more than the photos we create. It’s also about the memories we’re creating for you and your family during a really exciting milestone.
And remember: you couldn’t mess this up if you tried. Trust me, follow my lead, and enjoy it! At the end of photoshoots, I often have seniors tell me how quickly it flew by, how much fun they’ve had, and how surprised they were by how comfortable they started to feel right as the session began.


Step 9: Your Ordering Appointment | 1–2 Weeks After Your Session
Once the photoshoot is over, I’ll take it from here!
I’ll be working hard processing your images, choosing the best from your session, and preparing everything for your post-session ordering appointment.
This might actually be one of my favorite parts of the entire senior photo session timeline because I get to show you your photos for the first time!
There’s such a satisfying feeling in sitting beside a senior and their parent and watching them light up as they see the results, especially when that senior walked into the experience nervous that they weren’t going to like their photos.
During this appointment, you’ll choose your favorite images, and we’ll design your beautiful artwork together in detail.
Step 10: Final Delivery | Around 4 Weeks After Your Session
After your ordering appointment, I’ll finish your final edits and artwork designs. Delivery typically happens around four weeks after your photoshoot, or approximately two to three weeks after your ordering appointment.
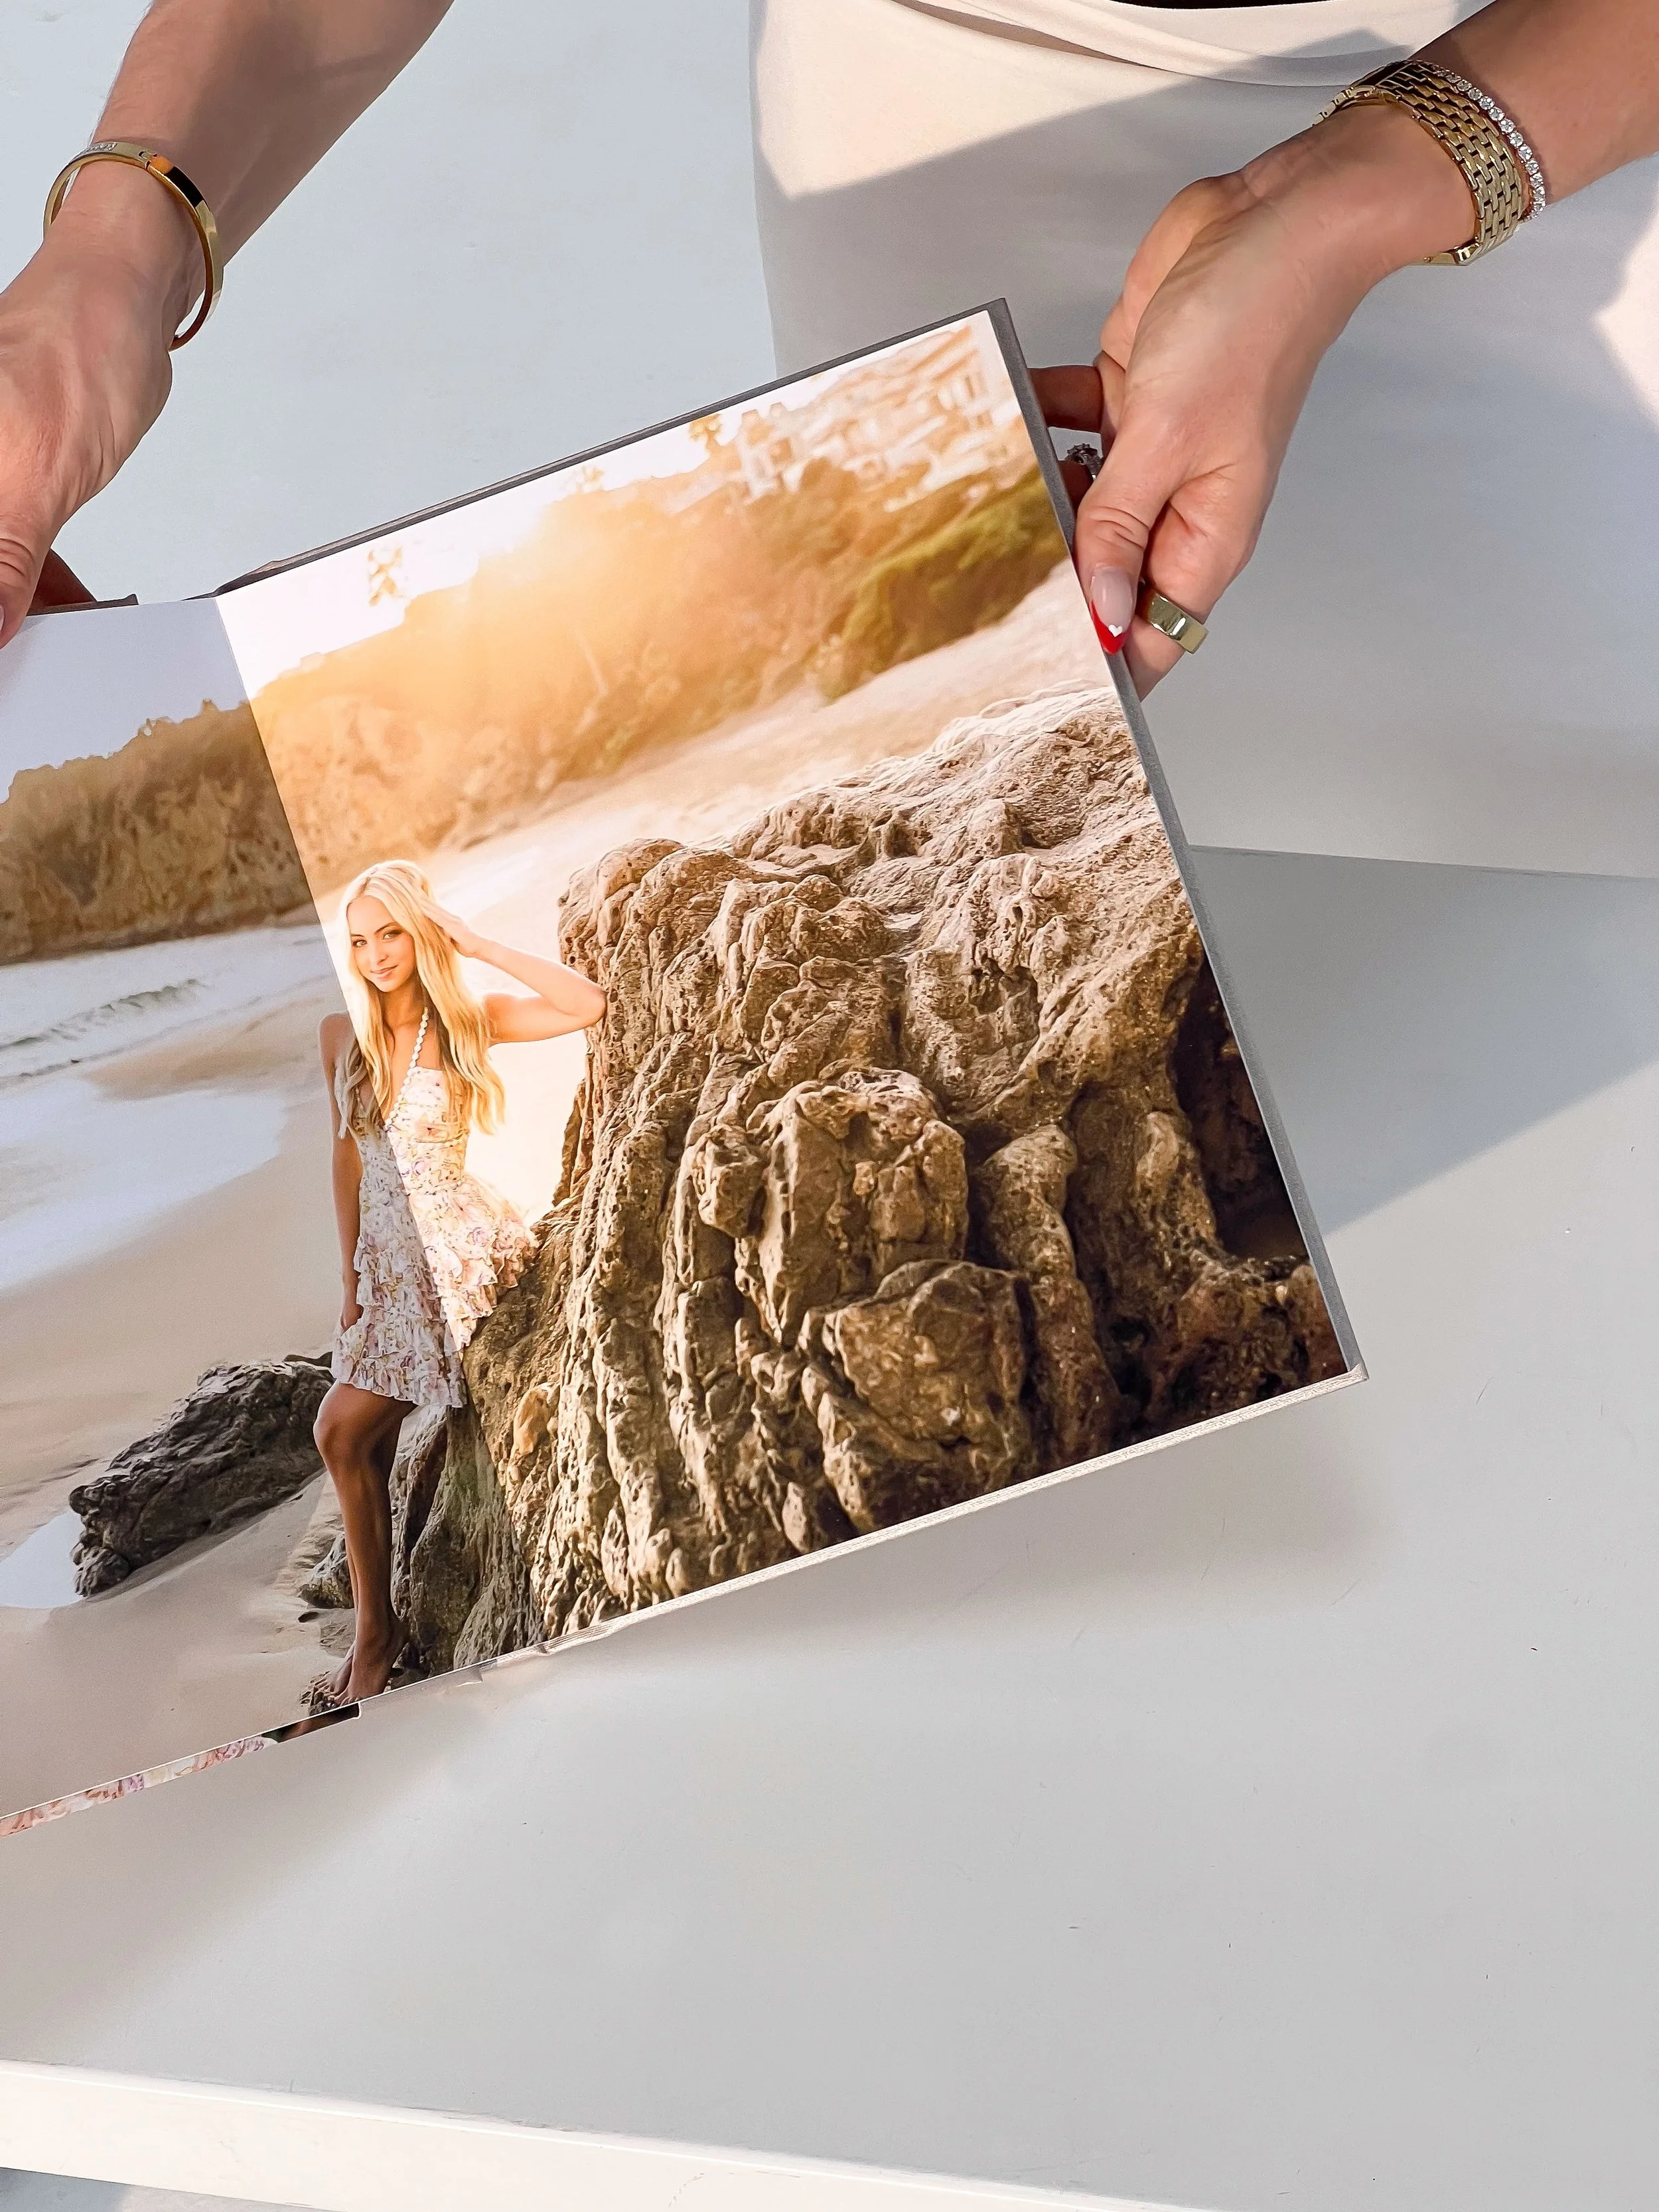
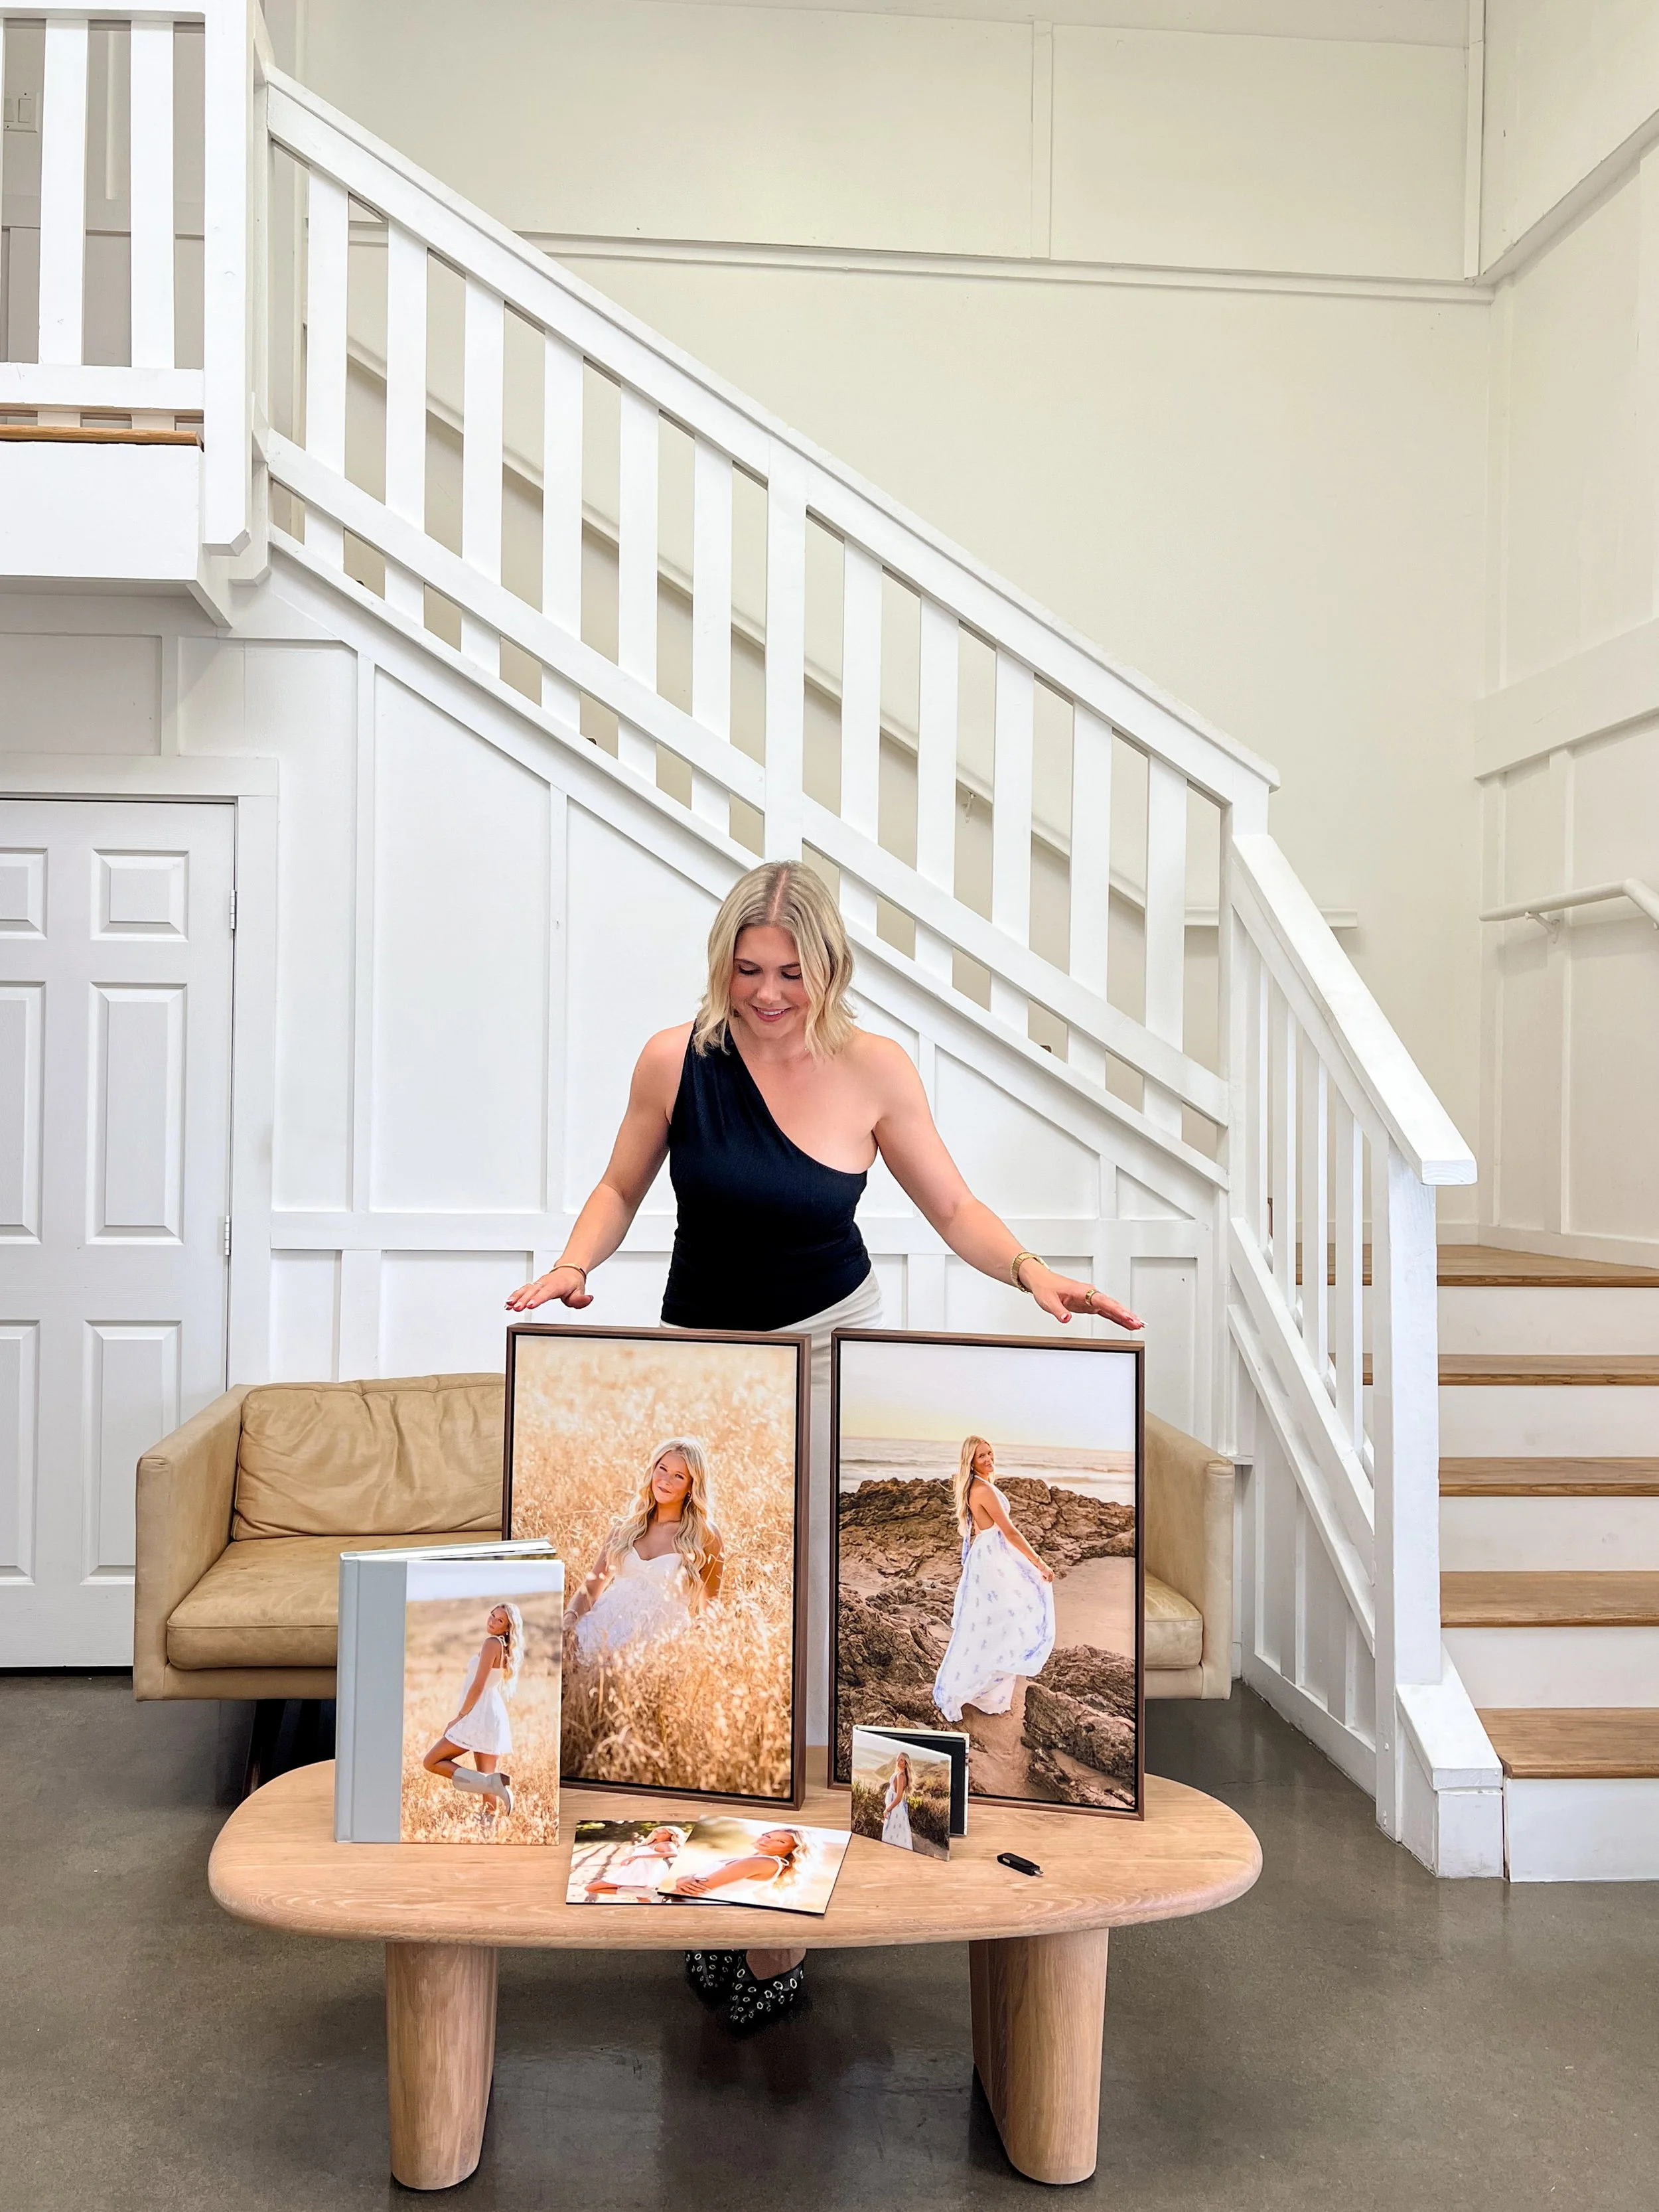
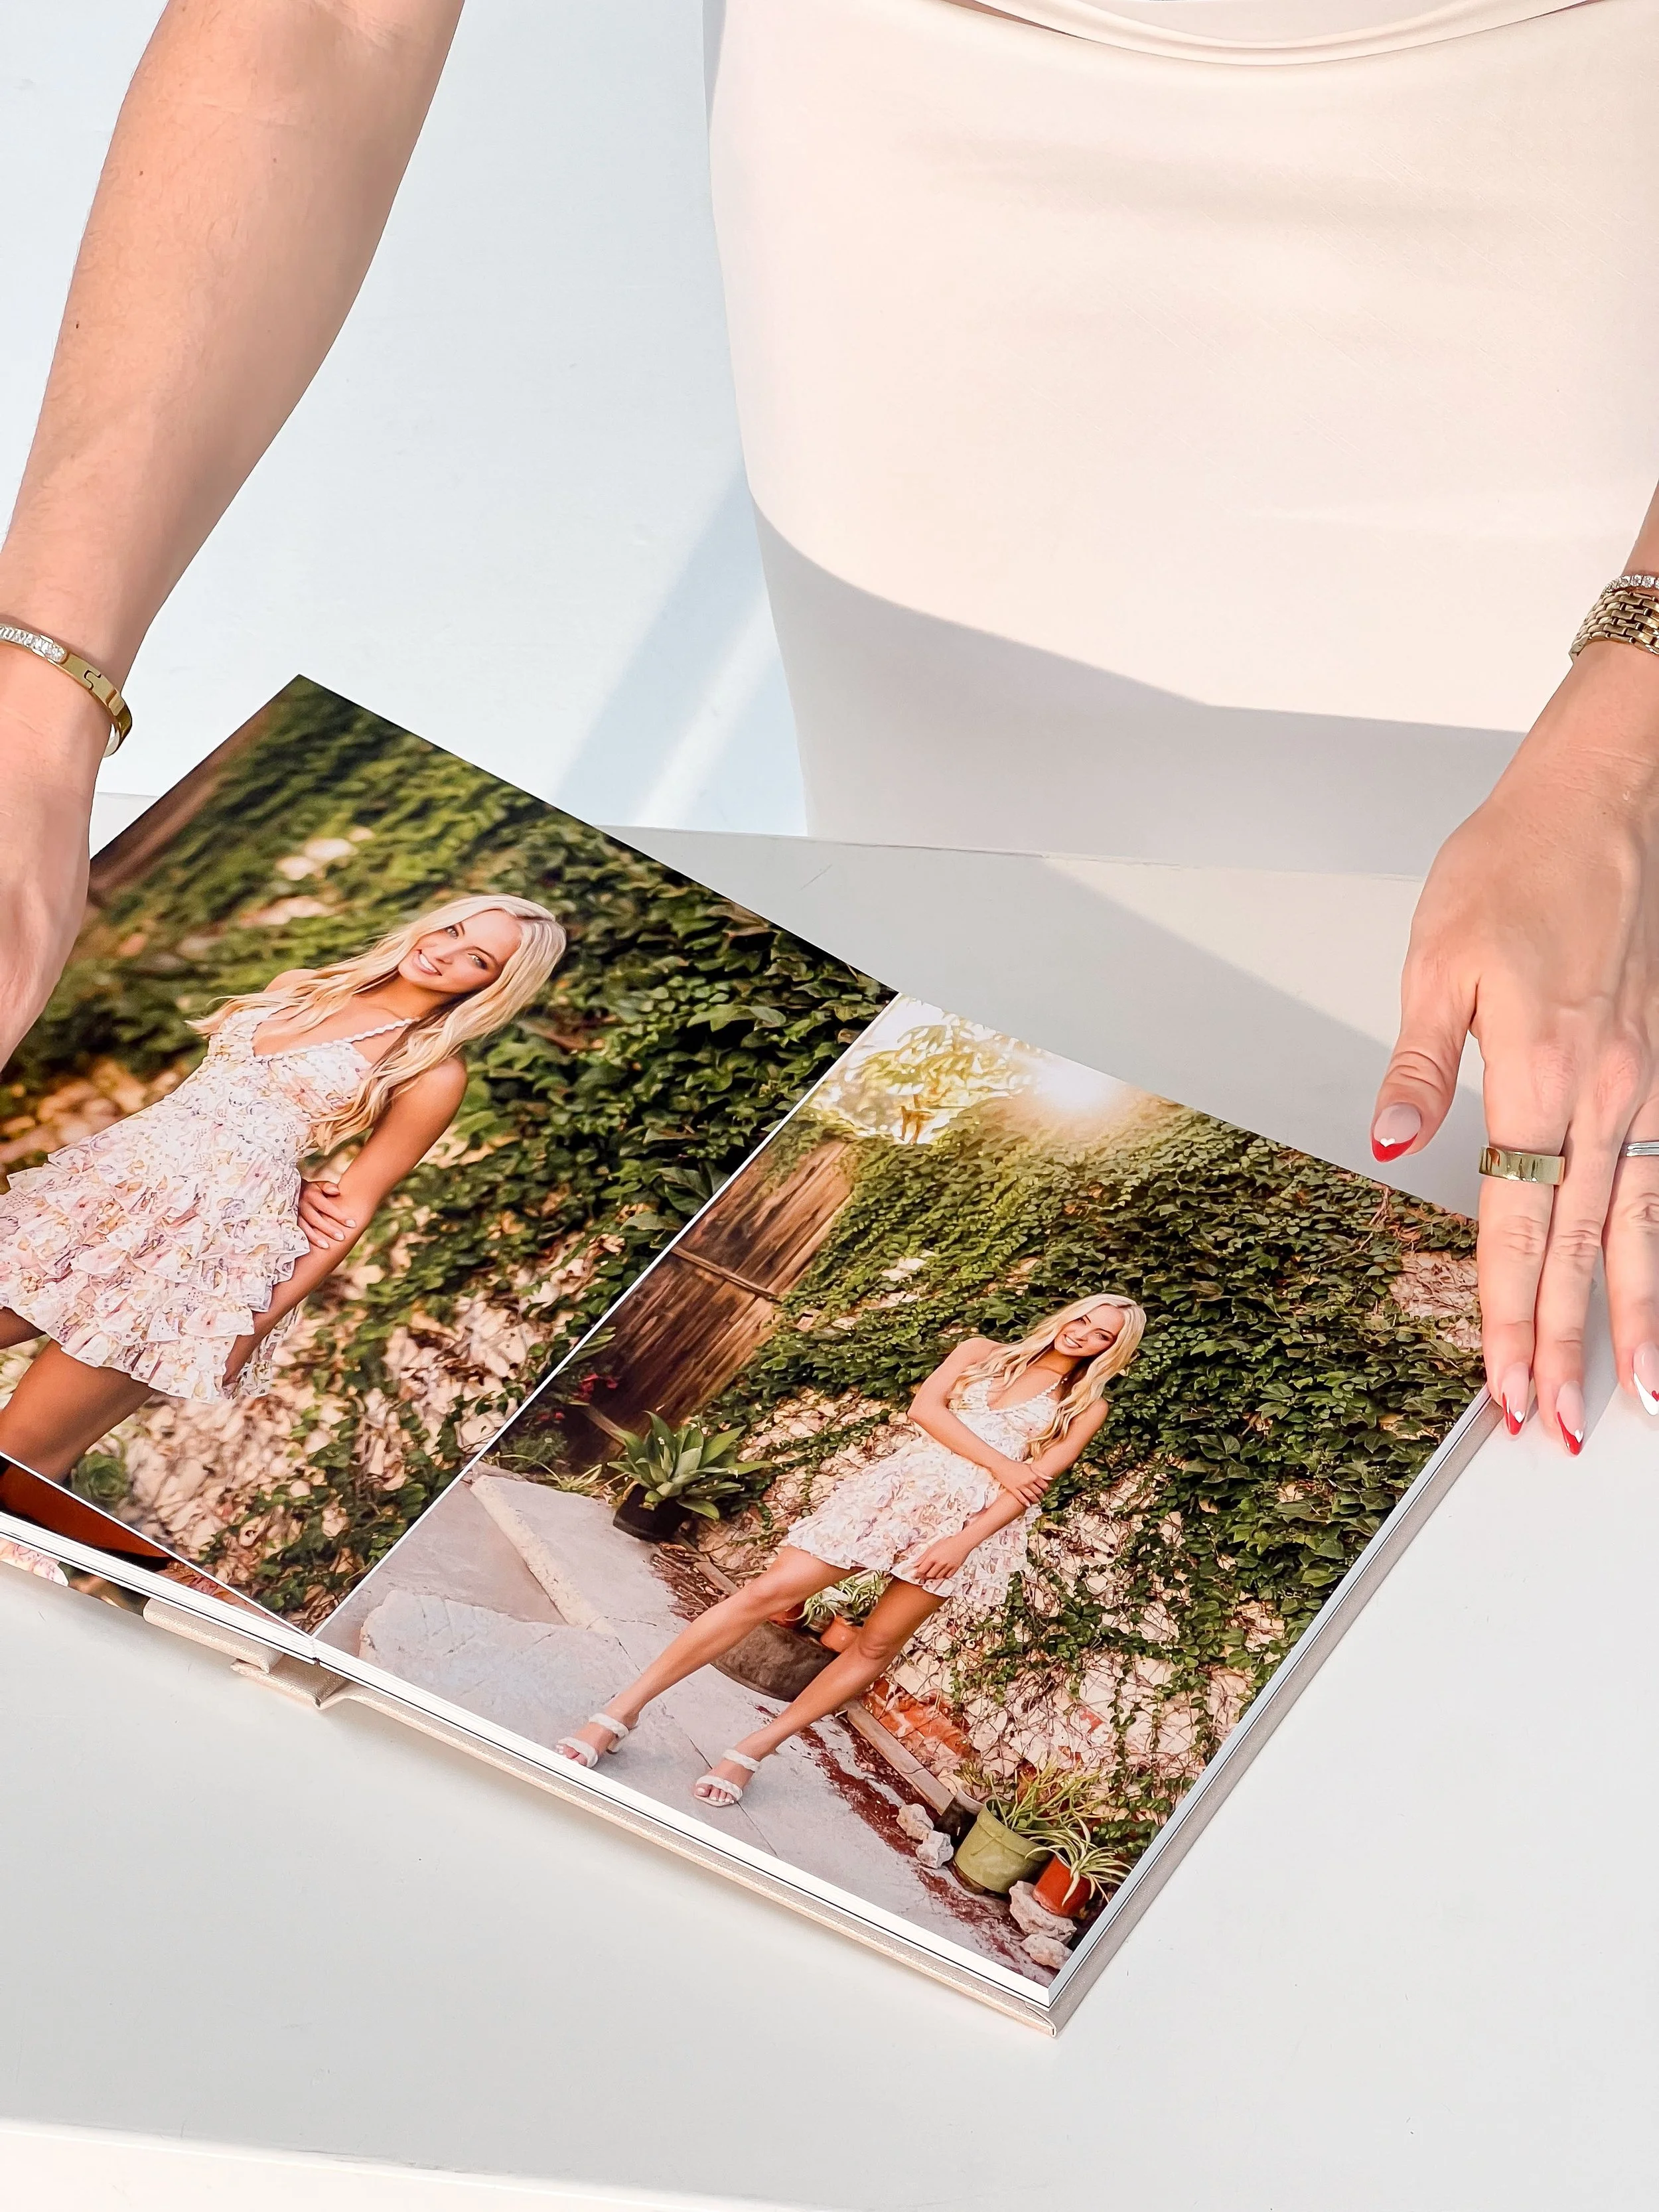
Every JenRenPro client gets the best of both worlds: high-resolution digital files and beautifully designed heirloom artwork you can hold in your hands, display proudly in your home, share with your loved ones, and enjoy for years to come.
The more digital the world becomes, the more I believe it’s never been more important to have a physical format of our images to enjoy. Something as special as your senior portrait milestone shouldn’t exist only on a camera roll or hard drive!
So, When Should You Start Your Senior Photo Session Timeline?
In a perfect world, if you’re becoming aware of the senior photo process before senior year, start early and join the waitlist.
Once you’re at the tail end of your junior year,there’s no such thing as booking too early, by the way. Starting early gives you the best access to dates, the most flexibility, and the most time to prepare. Our books typically open in May (at the end of junior year) and can be filled by the end of September (first semester of senior year) for the entire senior year, including the following summer!
As for when you should actually take your photos? That depends on what matters most to you.
If highlighting your college choice is a priority, December through May could make the most sense. If warmer, drier weather and getting ahead of winter yearbook deadlines are more important, summer or fall may be your sweet spot.
And if you’re already well into senior year, don’t stress. We’re so blessed here in California to have great photography options year-round. Get your application in at your earliest convenience, and we’ll go from there.
The best results come when you prioritize the full senior portrait experience, plan ahead when you can, and trust the professional once you get here.
Senior photos are an important milestone worth celebrating, worth making time for, and worth investing in. Once we meet and talk through your specific needs, you can release that responsibility to us and know you are in really, really good hands.
